Oval Glitter Pin Badge: Mastering the White-Ink Mask
Oval Glitter Pin Badge: Mastering the White-Ink Mask
How the white-ink layer controls how much flash base shows — and why that decision changes everything.
TL;DR
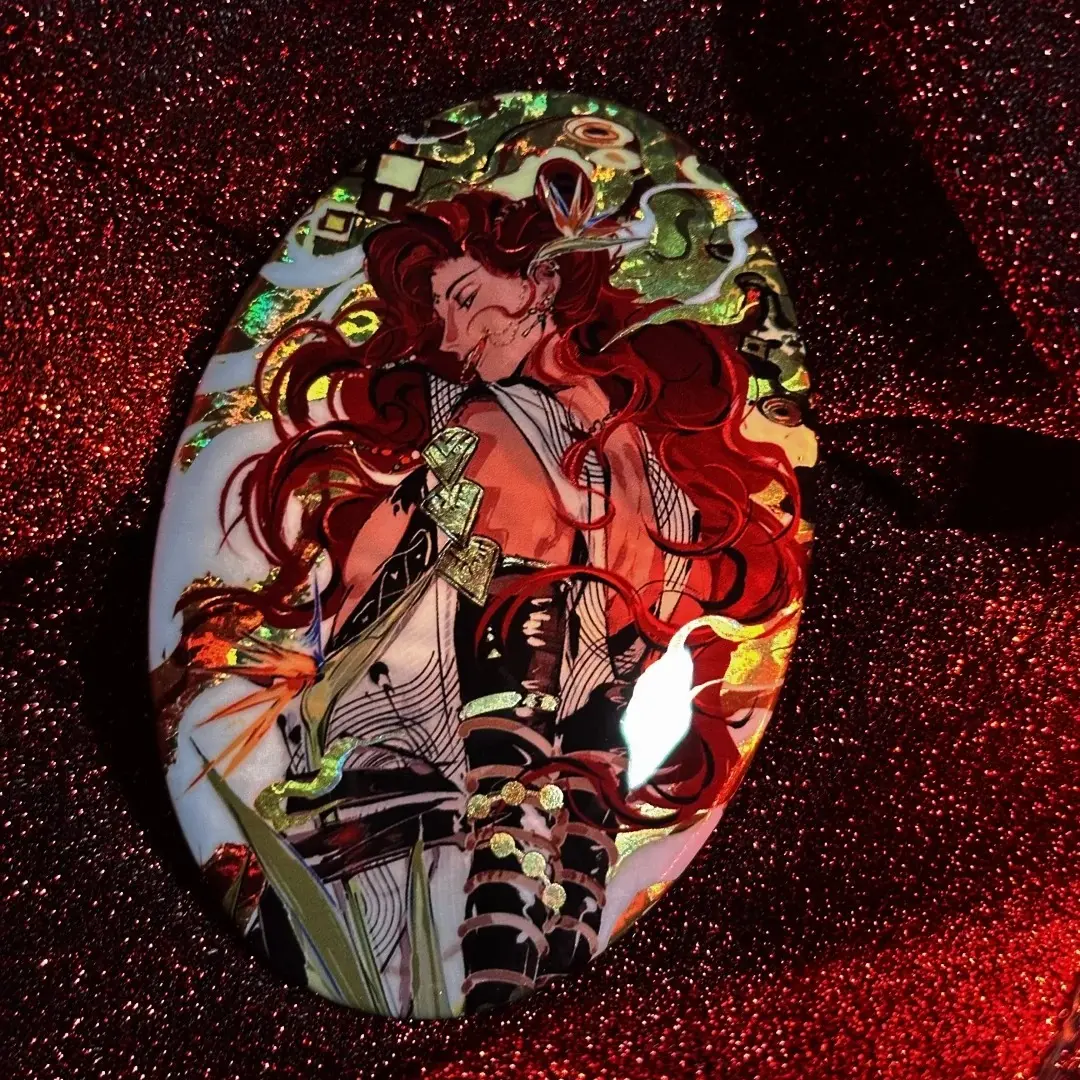
Oval glitter pin badges from Popecho layer 7-color UV print over one of 40+ glitter, holographic, or laser base films, in two sizes: 53×73 mm and 63×89 mm. The single most consequential file-prep decision is the white-ink mask — it determines exactly how much of the flash base shines through your art. Design that layer with the same care as your main artwork, open the product in Popecho's onsite editor to load the oval template, and place a single-unit sample order to verify your chosen base before scaling up.
What This Subtype Actually Demands
Most pin badge formats ask you to handle one file: the art. Oval glitter badges ask for two — the art layer and the white-ink mask that mediates between it and the flash base underneath. That relationship is what makes this subtype distinct. The glitter, holographic, or laser base is permanently bonded before printing begins; your white-ink mask then decides which zones it suppresses and which zones it lets breathe. Cover an area with solid white and the base is blocked — the badge reads as a standard print in that region. Leave an area transparent and the base pushes through, catching light beneath the color layer above it. Every creative outcome — subtle shimmer at the edges, a full glitter flood, a focused sparkle behind a character's silhouette — is a function of how intentionally you draw that mask. The oval shape adds a second constraint: an elliptical trim boundary with a 3 mm bleed ring that must stay free of critical content.
Setting Up the Artwork
Canvas sizes for upload are 59×79 mm (small) and 69×99 mm (large) — these dimensions include the bleed ring. The finished visible oval after trim is 53×73 mm or 63×89 mm. Work at 300 DPI minimum and keep your color mode in RGB; the 7-color UV workflow reads RGB natively and converting to CMYK before upload will shift your colors.
Open the product in Popecho's onsite editor and the elliptical die-cut outline for your chosen size loads automatically — no manual oval-path construction needed. Popecho's editor also surfaces the safe-zone boundary at the finished-cut edge, so you can see at a glance which content is safe from trim. With 80 template starting points available in the catalog, you can build your composition from a pre-positioned canvas rather than from a blank artboard.
The white-ink mask travels as a separate layer. In a PSD file, keep it on its own named layer: solid white where you want the base fully suppressed, transparent where you want the flash to read through. Partial opacity gives a blended result — useful for gentle glimmer in gradient zones. Treat this layer as a second piece of finished artwork rather than an afterthought.
Surface and Production Decisions
With 40+ base options — including holographic, laser, pearl, metallic, glow-in-the-dark, and solid shimmer finishes — base selection is a creative decision with real production consequences, not just a style preference.
Silver-glitter bases are particularly high-contrast and visually dominant. On art with lighter color zones or fine detail, the silver base can overpower the print layer and compete with the subject rather than supporting it. If your art is light-toned or has large open areas, either increase white-ink opacity in those zones or choose a subtler base finish.
Glow-in-the-dark and ultra-reflective bases may appear slightly softened under the PET anti-scratch laminate. The PET layer adds durability and a consistent gloss, but it does attenuate the raw reflectivity of the most reactive finishes. Factor this in when choosing between, for example, a reflective laser base and a softer pearl — the PET effect is more noticeable on the former.
For very fine lines or tight gradients below roughly 0.3 mm, the curved dome surface may lose some edge definition. Keep critical small text and fine detail well inside the safe zone, not near the trim edge where the wrap angle is most pronounced. Popecho's production lead time for this product is 12 days.
What Trips Creators Up
Skipping the white-ink mask entirely. Without a mask file, the base is either fully blocked or the workflow defaults to a setting that eliminates the flash effect. The double-flash result doesn't happen automatically — it requires the mask layer.
Solid dark art with no mask transparency. Large areas of solid black fully suppress the base beneath them. If your character design is heavy with dark fills, the badge can arrive looking like a plain dark pin with no shimmer. Plan transparent or semi-transparent mask zones behind dark art areas to let the base read through.
Choosing a high-dominance base without testing. Silver-glitter and certain laser bases are significantly more visually aggressive than they appear in swatches. Order a single-unit sample at the 1-piece MOQ to proof your base choice before committing to a full run — the cost of one badge is far less than reprinting a batch.
Critical content in the bleed ring. The 3 mm ring outside the finished oval gets trimmed. Any face detail, text, or focal element that drifts into that zone on the canvas will be cut off on the physical badge. Use Popecho's editor safe-zone overlay to verify placement before submitting.