
Double-Flash Badge File Prep: Two Layers, One Round
Double-Flash Badge File Prep: Two Layers, One Round
How to design artwork that works with the glitter backing instead of hiding it.
TL;DR
A double-flash button badge prints your artwork on a transparent base so a glitter or holographic backing reads through it — which means every file decision you make either reveals or kills that effect. The most critical call is white-ink placement: too little and light areas vanish into the backing; too much and the flash disappears entirely. Open your variant in Popecho's editor, check the template catalog, and work your transparent zones deliberately before you order.
What This Subtype Actually Demands
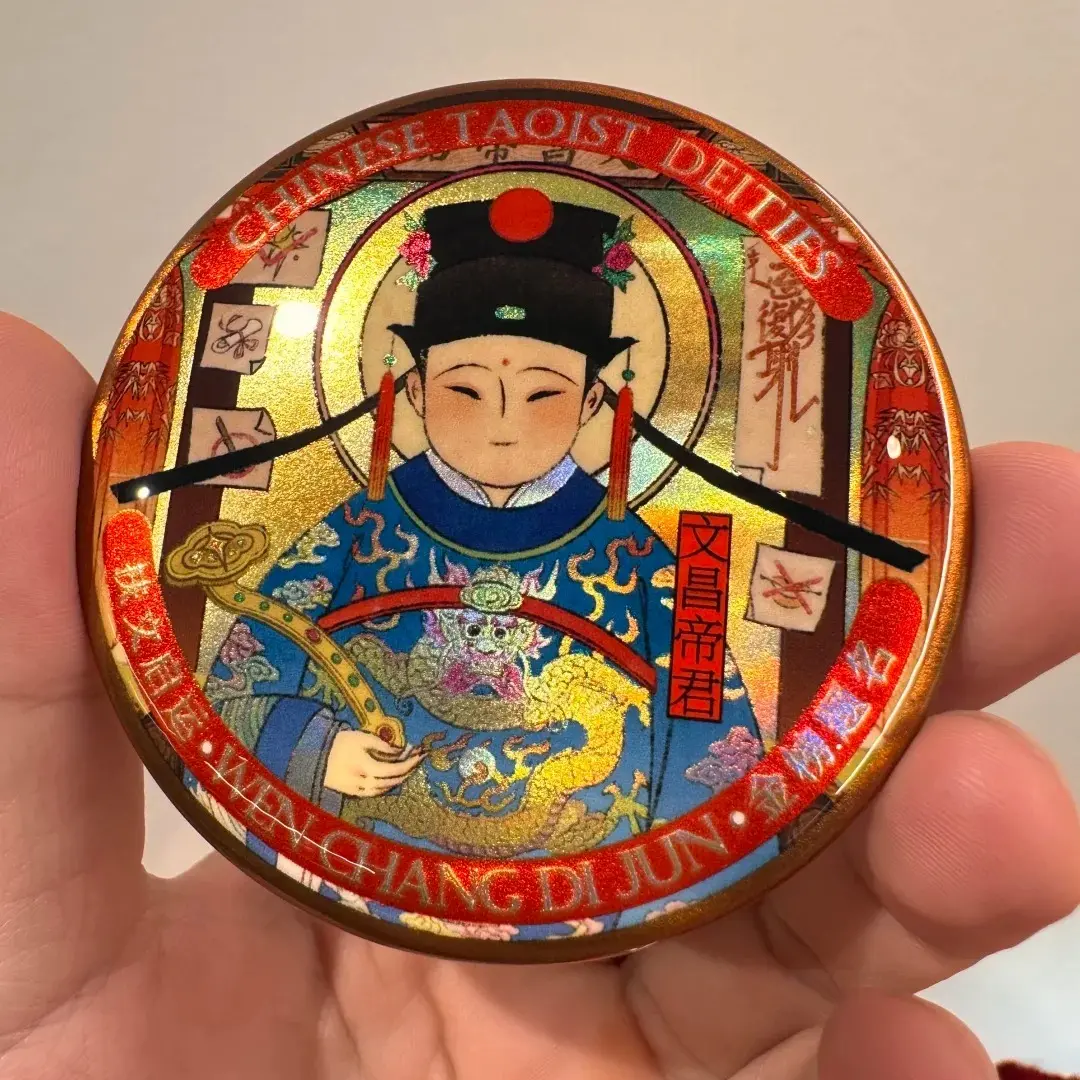
A standard opaque button badge treats the backing as a neutral surface. A double-flash badge treats it as a visual layer. Popecho prints your artwork on a transparent base, then bonds it over a glitter or holographic backing — one of 29+ styles ranging from silk and pearl white to flame laser and rainbow foil. Whatever you leave transparent in your file becomes a window into that backing material.
This changes the design logic at a fundamental level. You are not decorating a white disc. You are composing two layers at once: the art layer you control and the backing layer you choose. A fully opaque illustration with a solid background will print cleanly but block the flash entirely — the product becomes a standard badge, not a double-flash one. Deliberate transparency is the design act that makes this subtype worth ordering.
Setting Up the Artwork
Canvas dimensions are pre-loaded in Popecho's onsite editor when you open the variant: 70 × 70 mm for the 58 mm badge, 87 × 87 mm for the 75 mm badge. Both canvases already include the 6 mm bleed boundary, so you extend your background art to the canvas edge and the bleed is handled. A safe-zone ring sits approximately 3–4 mm inside the finished cut — faces, text, and any detail you cannot afford to lose must stay inside it.
Popecho's editor includes a template catalog with two starting templates for this product. Opening one gives you the correct canvas size, the safe-zone overlay, and the white-ink layer already staged — you are not building these from scratch. The white-ink layer is where the most consequential decisions live: paint white ink only under the areas you need fully opaque, leave everything else empty so the backing reads through, and check the editor preview before submitting. Upload in RGB at 300 DPI; Popecho applies the manga-specialised colour profile at production, so converting to CMYK yourself will introduce a double-transform error.
Surface and Production Decisions
The PET anti-scratch dome over the print surface adds slight visual depth and protects the art, but micro-surface scratches are an inherent material property — worth flagging in your own product listings if your buyers are particular about surface condition.
White ink is the lever that controls the interaction between art and backing. Areas with no white ink beneath them are effectively transparent: the glitter or holographic texture shows through. Areas with full white ink beneath them are opaque: the backing is blocked. Most designs need both — opaque zones for faces and fine line art, transparent zones for backgrounds or accent areas where shimmer is the point. The editor lets you paint the white-ink layer independently, so you can preview the split before committing.
Backing selection also matters at the design stage, not just at checkout. High-energy backings — flame laser, rainbow, large floral laser — have strong visual texture that competes with fine or low-contrast line art. Quieter backings like silk or pearl white sit behind the artwork without fighting it. The 7-colour UV upgrade is an optional add-on that increases print saturation and adds a gloss layer across the full surface; it works well for heavily saturated character art but is incompatible with any intentional matte treatment.
What Trips Creators Up
White ink omitted from light areas. Light-coloured or white design elements without a white-ink layer beneath them become transparent against the backing. A character's pale skin or white clothing can effectively disappear into a silver-glitter or holographic surface. Paint explicit white ink under every zone that needs to read as a solid colour.
White ink applied wall-to-wall. Going the other direction — flooding the entire white-ink layer — blocks the backing completely and produces a standard opaque badge. The double-flash effect requires restraint. Limit white ink to the areas that genuinely need opacity.
Opaque background fill with no transparent zones. A solid background colour covers the backing entirely. If the whole reason you chose a flame or rainbow backing is the shimmer, a fully opaque fill defeats the purchase. Remove or reduce the background opacity in the zones where you want flash to show.
Detail too close to the cut edge. The safe-zone ring in Popecho's editor marks the boundary clearly. Text or face elements placed between that ring and the 58 mm or 75 mm cut edge will be partially trimmed. Set your critical detail inside the ring before finalising the file.