Pin Badge File Setup: Circular Bleed and Finish Choice
Pin Badge File Setup: Circular Bleed and Finish Choice
The 3 mm bleed ring, safe-zone circle, and laminate decision that decide your badge's final look.
TL;DR
Custom pin badges (58 mm and 75 mm circular) are produced on a 0.2 mm steel shell with 15K high-definition printing and nine laminate finishes. The two decisions that change the result most are filling the full circular bleed zone — not just the cut line — and choosing a laminate finish deliberately before bulk production, because holographic overlays shift colour appearance under ambient light in ways that a screen preview cannot replicate. Start by opening your badge in Popecho's onsite editor, where the circular die-cut outline and safe-zone guide are already loaded.
What This Subtype Actually Demands
Round pin badges — bājī in fan-merch shorthand — have a physical assembly step that rectangular prints skip entirely: the steel shell is crimped over the printed disc, folding the outer edge under the back plate. That 3 mm fold is not decorative tolerance — it is a structural requirement. Artwork that ends at the cut line leaves raw metal visible at the badge edge after crimping. The implication is immediate: the bleed zone must be treated as a design zone, not dead space.
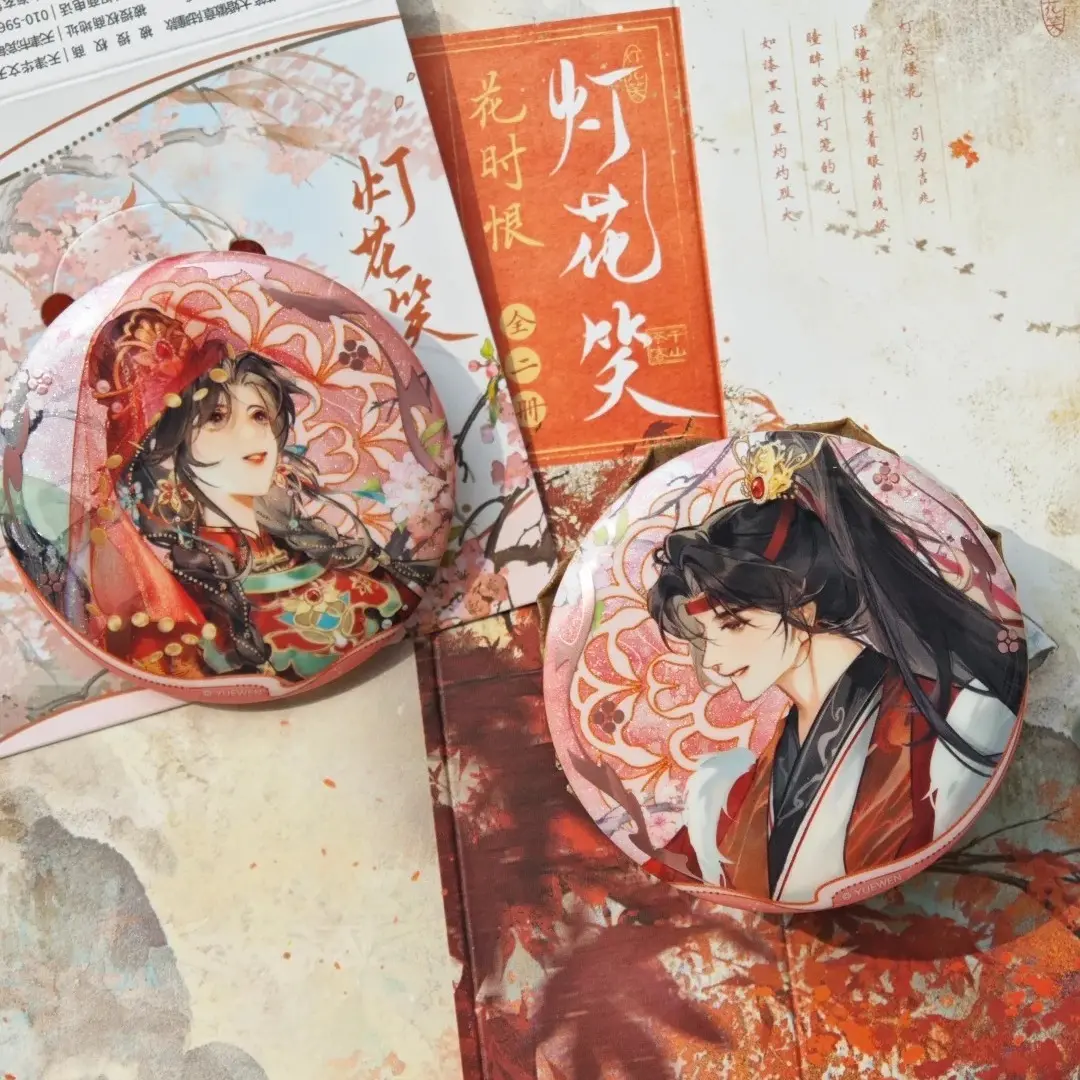
At 58 mm and 75 mm finished diameter, these badges live pinned to ita bags, lanyards, and tote panels where they are seen at arm's length and inspected up close. Compositions that read clearly at thumbnail scale and carry visual detail that rewards close inspection — particularly under a holographic laminate — perform better in collectible fan contexts than designs that only work large.
Setting Up the Artwork
Canvas dimensions are size-specific: 70 × 70 mm (827 × 827 px at 300 DPI) for the 58 mm badge, and 87 × 87 mm (1028 × 1028 px at 300 DPI) for the 75 mm badge. Those larger canvases include the 3 mm bleed ring on every side. Fill that entire canvas — background colour, gradient, or illustration — all the way to the edge. A flat colour block that stops at the cut line will show as a pale or white band on the crimped edge of the finished badge.
Inside Popecho's onsite editor, the circular die-cut outline and bleed boundary load automatically for this variant, so you can see exactly where the crimp fold begins without manual calculation. The safe-zone circle appears as a live guide inside that — keep all text, character faces, and critical detail inside it, clear of the outer 3 mm perimeter. Popecho's template catalog for this product includes 17 starting configurations, which is a practical way to confirm canvas proportions before placing your own artwork layer.
Accepted formats are PNG and JPG, RGB colour mode, 3 MB maximum per file. Avoid concentric-circle layout patterns: registration shift at the edge can make them read noticeably off-centre on the pressed badge.
Surface and Production Decisions
The 15K indigo printing engine runs either 4-colour or 7-colour high-definition output, which handles most illustrated palettes cleanly. Two ranges cause problems: neon or fluorescent values, and any colour whose channel percentage sits below roughly 20% — both shift significantly in the final print and warrant a sample run before bulk production.
The laminate choice is where the badge's character actually sets. High-gloss clear amplifies saturation and keeps colours close to screen values. The six holographic variants — shattered-glass, diagonal-pillar, starfield, laser-star, heart, and fireworks — add a prismatic layer that changes colour appearance as the badge tilts under light. That shift is genuinely appealing on the right artwork, but it reads differently from any screen preview. Matte and soft-touch matte suppress surface reflection and shift perceived colour toward deeper, cooler tones.
For colour-critical artwork going onto a holographic laminate, order a physical sample at the 4-piece MOQ before committing to a larger run. RGB colour mode is mandatory throughout — CMYK files produce oversaturated output that falls outside Popecho's quality guarantee.
What Trips Creators Up
Artwork ends at the cut line, not the canvas edge. The crimp fold pulls the outer 3 mm under the shell. Any background that stops at the cut circle leaves a visible band of raw or mismatched material at the badge rim. Fill the entire canvas.
Wrong pixel dimensions for the chosen size. Uploading a 58 mm canvas file for a 75 mm badge — or any off-spec resolution — produces blurry print output. Use exactly 827 × 827 px for 58 mm and 1028 × 1028 px for 75 mm at 300 DPI.
Thin or semi-transparent line art. Fine strokes and low-opacity lines are a known production risk on this print process. Disconnected or faint lines in the output are expected behaviour, not a defect. Thicken strokes and convert semi-transparent elements to solid fills before uploading.
CMYK file submitted in RGB packaging. Some creative tools export CMYK data even when the file extension reads PNG. If the in-cart preview shows unexpected colour saturation, convert the file to true RGB before resubmitting — this is outside Popecho's after-sale scope once production begins.