Baseless Acrylic Standee: File Setup and Cut Logic
Baseless Acrylic Standee: File Setup and Cut Logic
How the auto-cutout workflow, 2 mm border, and mirrored reverse change your artwork decisions.
TL;DR
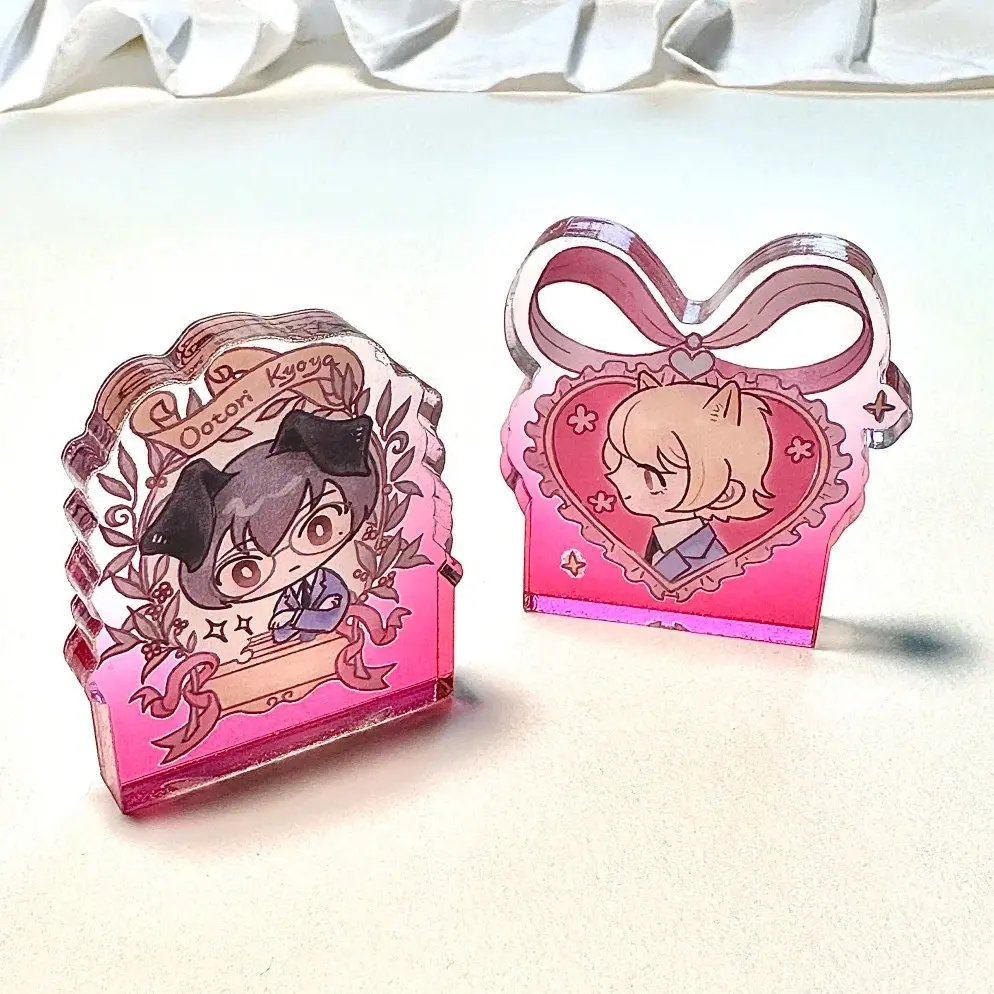
A baseless die-cut acrylic standee is a pure silhouette piece — no foot, no rectangular footprint, just laser-cut character shape on 8 mm high-transparency acrylic printed double-sided. The decision that shapes the whole file is whether your PNG has a transparent background before upload, because Popecho's smart auto-cutout reads that boundary to generate the die-line and add the 2 mm transparent border automatically. Upload a clean transparent-background PNG in RGB at 591 px (5 cm) or 827 px (7 cm) at 300 DPI and verify the cutout result inside Popecho's editor before submitting.
What This Subtype Actually Demands
The baseless format removes the one structural element most acrylic standees rely on: a rectangular base that holds the piece upright and absorbs minor silhouette irregularities at the edges. Without it, the laser-cut outline is the product. Every bump, notch, and recess in your character art becomes a physical edge, which means art complexity matters more here than on any base-equipped standee.
At 5 cm or 7 cm along the longest dimension, the working print area is small. Intricate detail — fine hair strands, thin accessory outlines, negative-space gaps narrower than roughly 2 mm — either vanishes at this scale or causes the laser cut to produce fragile tabs that break in handling. Chibi and Q-version art styles exist precisely because they solve this problem: simplified silhouettes, bold shapes, minimal internal cutouts. That recommendation isn't aesthetic preference; it's a production constraint baked into the format.
Setting Up the Artwork
Prepare your canvas at 591 px for the 5 cm variant or 827 px for the 7 cm variant, both at 300 DPI in RGB color mode. Those pixel counts map to the finished cut size — the canvas edge and the silhouette boundary are essentially the same reference frame at this scale.
Background handling is the single most consequential file decision. Export your illustration as a transparent-background PNG before uploading. When you open the product in Popecho's editor and upload a transparent-background PNG, the editor displays a blue indicator confirming it has read the transparent mode correctly — that confirmation is your signal that the auto-cutout has a clean boundary to trace. From that boundary, Popecho's editor generates the die-line silhouette and automatically adds the 2 mm transparent outline around the cut edge. You do not need to add bleed manually or prepare a separate vector mask.
Keep key character details at least 2 mm inward from the outermost silhouette edge. The 2 mm transparent border lives at the very perimeter of the cut, and anything placed there will sit in an optically clear zone rather than a printed one.
Surface and Production Decisions
High-transparency acrylic is optically clear substrate. Any area of the acrylic that is not covered by ink reads as see-through rather than white. This matters most at the character silhouette edges — the 2 mm transparent border is intentionally clear, giving the piece a borderless floating appearance when displayed against any background. Design with that transparency in mind rather than expecting a white margin.
The reverse side is a horizontal mirror of the front. Popecho's double-sided printing process generates the reverse automatically from the front artwork — there is no independent reverse canvas to customize. Any text, logo, or asymmetric motif on the front will read backwards on the reverse. If legible text on both faces matters for your design, position it symmetrically on the front, or accept that it will be mirrored. This is a constraint of the format, not a production error.
Color mode is non-negotiable: submit in RGB. CMYK files cause significant saturation and brightness shifts in the printed output. If the editor preview shows unexpected color changes after upload, the color profile needs to be converted to RGB before resubmission. Extreme-gamut values — neons, fluorescents, channel values below 20 — will also show variance on the finished acrylic; verify those colors in a proof before committing to a production run.
What Trips Creators Up
Adding a manual border stroke to compensate for bleed. The 2 mm transparent outline is applied automatically by Popecho's production process. Adding your own stroke on top of the artwork results in a double border on the finished piece — a visible halo that sits outside the intended silhouette. Leave the edge clean and let the editor handle it.
Uploading at the wrong canvas size. Images that are oversized or undersized trigger automatic quality compression. At 5 cm and 7 cm the print area is already small, so any resolution loss is immediately visible. Use exactly 591 px or 827 px at 300 DPI — not a rough approximation.
Assuming the reverse can carry a different design. The mirrored reverse surprises creators who plan to use the back face for a second character or a text callout. The reverse is always a flip of the front. Plan your front artwork knowing both faces will show it.
Uploading complex art without checking the cutout preview. The smart auto-cutout handles most clean transparent PNGs without issue, but complex backgrounds or soft-edged subjects can produce irregular silhouettes. Always confirm the cutout result in Popecho's editor before placing the order, and re-upload a corrected file when the edge looks wrong.