Double-Flash Badge File Setup: White Ink is the Control Layer
Double-Flash Badge File Setup: White Ink is the Control Layer
How your transparency map and white-ink channel decide how much holographic backer actually shows.
TL;DR
Popecho's rectangular double-flash pin badge is a layered sandwich: a 7-colour UV-printed art sheet sits above a selectable holographic or glitter PET backer, and wherever your artwork is transparent, the backer shimmers through. The single most consequential decision is how you draw your white-ink channel — it controls opacity zone by zone and determines whether the flash effect reads as a subtle shimmer or an all-out glitter explosion. Start from the template in Popecho's onsite editor, lock in your orientation and backer choice early, then finalise your white-ink map before uploading.
What This Subtype Actually Demands
Most pin badges ask one question: does the art fit the shape? The rectangular double-flash badge asks a second, harder one: how much of the backer do you want to show, and where?
The construction is a true layered sandwich. Popecho prints your art on a top sheet using a 7-colour UV process, then presses that sheet over a holographic or glitter PET film from a catalog of 38+ options. Every transparent or semi-transparent pixel in your art becomes a window into that backer. Every opaque pixel blocks it. This means your artwork file is doing two jobs simultaneously — carrying your illustration and acting as a transparency mask for the flash layer beneath.
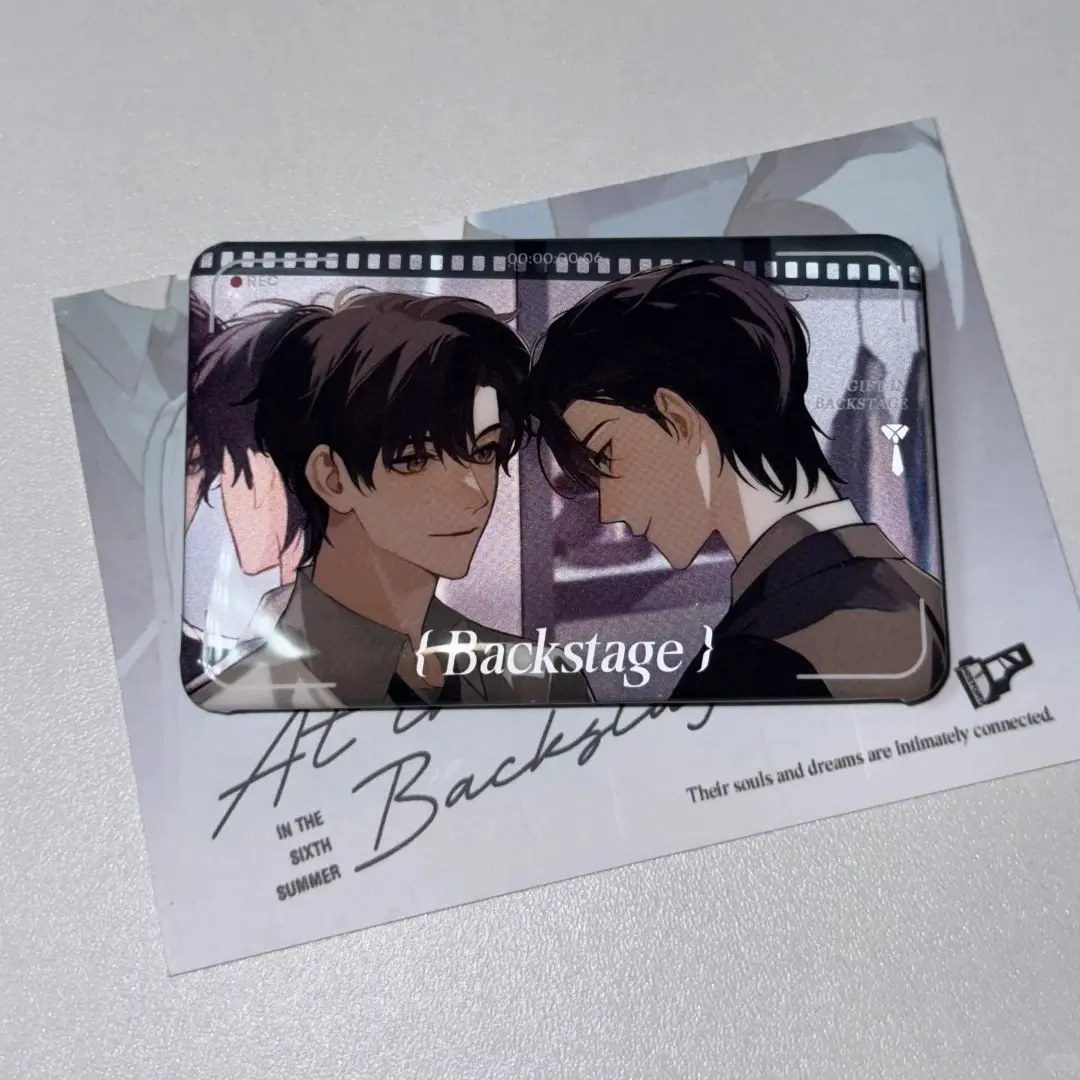
The format also matters for your audience. At 45×71 mm, the portrait variant is nearly identical to a standard photocard, which makes it a natural companion piece for K-pop and anime card-collecting communities who already know that size in their hands.
Setting Up the Artwork
Orientation is the first decision. Popecho's onsite editor carries all four variants — 45×71 mm portrait, 71×45 mm landscape, 55×86 mm portrait, 86×55 mm landscape — and once you select one, the canvas, bleed boundary, and safe-zone overlay are already loaded. You do not need to calculate these manually.
Canvas sizing: add 1 mm bleed on every edge. For the 45×71 mm variant that means a 47×73 mm working canvas; the editor's live bleed guide shows this boundary as you work. Keep all critical art and text at least 2 mm inside the finished cut edge — the safe-zone overlay in the editor marks this line.
File requirements: 300 DPI minimum, RGB colour mode. Popecho's 7-colour UV line reads RGB files directly. Expect some screen-to-print shift, especially in neon and highly saturated tones — this is normal for UV output.
The white-ink channel is where the real file work happens. When you open your variant in Popecho's editor, the white-ink layer is available as a dedicated surface. Paint white ink beneath areas you want to read as opaque and leave it absent where you want the backer to shimmer through. PSD is the recommended upload format when you are including a white-ink layer, because it preserves the channel structure cleanly. Popecho's template catalog includes a starting layout for this product — opening from there saves you the initial canvas setup entirely.
Surface and Production Decisions
Backer selection is a design decision, not just a material one. The backer you choose during the Popecho ordering flow becomes a visible element of the finished badge. A silver glitter backer is flagged explicitly as very intense — artwork with large transparent areas can be visually overwhelmed by it. If your illustration is fine-detail line art with minimal fill, a subtler backer like plain laser or brushed rose gold will let the art read clearly rather than compete with the shimmer underneath.
The white-ink layer's practical limit: without a white-ink map, transparent areas show the full backer and opaque areas are determined purely by ink coverage. A fully opaque white background blocks the flash layer entirely — which defeats the purpose of the double-flash construction. The most effective designs use the white-ink channel selectively: heavy opacity under the character face or key text, lighter or absent opacity in surrounding zones so the backer adds dimension without drowning detail.
The 7-colour UV process delivers richer tonal range than standard CMYK, particularly in dark and jewel-tone palettes. However, the tinplate shell will have minor surface micro-scratches inherent to the material — this is noted in Popecho's after-sales policy as an unavoidable material characteristic, not a production defect.
Popecho's production lead time for this product is 12 days.
What Trips Creators Up
Opaque white background blocks the backer entirely. Filling the full canvas with a solid white layer is the single fastest way to produce a badge that looks like a standard print with no flash effect. Leave background areas transparent or semi-transparent and use the white-ink channel to control opacity precisely.
Choosing the wrong backer for the art density. High-glitter backers like silver glitter are designed for designs with large transparent zones. Pair them with fine-detail or line-heavy art and the backer will dominate. Preview your backer choice against your actual transparency map before confirming the order.
Text and key art sitting too close to the cut edge. The detail spec explicitly warns that elements outside the 2 mm safe zone risk being trimmed. Popecho's editor safe-zone overlay shows this boundary live — check it before exporting.
Uploading after the 4-hour window. Orders routed to production more than 4 hours after payment cannot be modified or cancelled. Finalise your artwork file completely — including the white-ink channel — before uploading and paying.