Rectangular Pin Badge File Setup: Bleed, Wrap, and Laminate
Rectangular Pin Badge File Setup: Bleed, Wrap, and Laminate
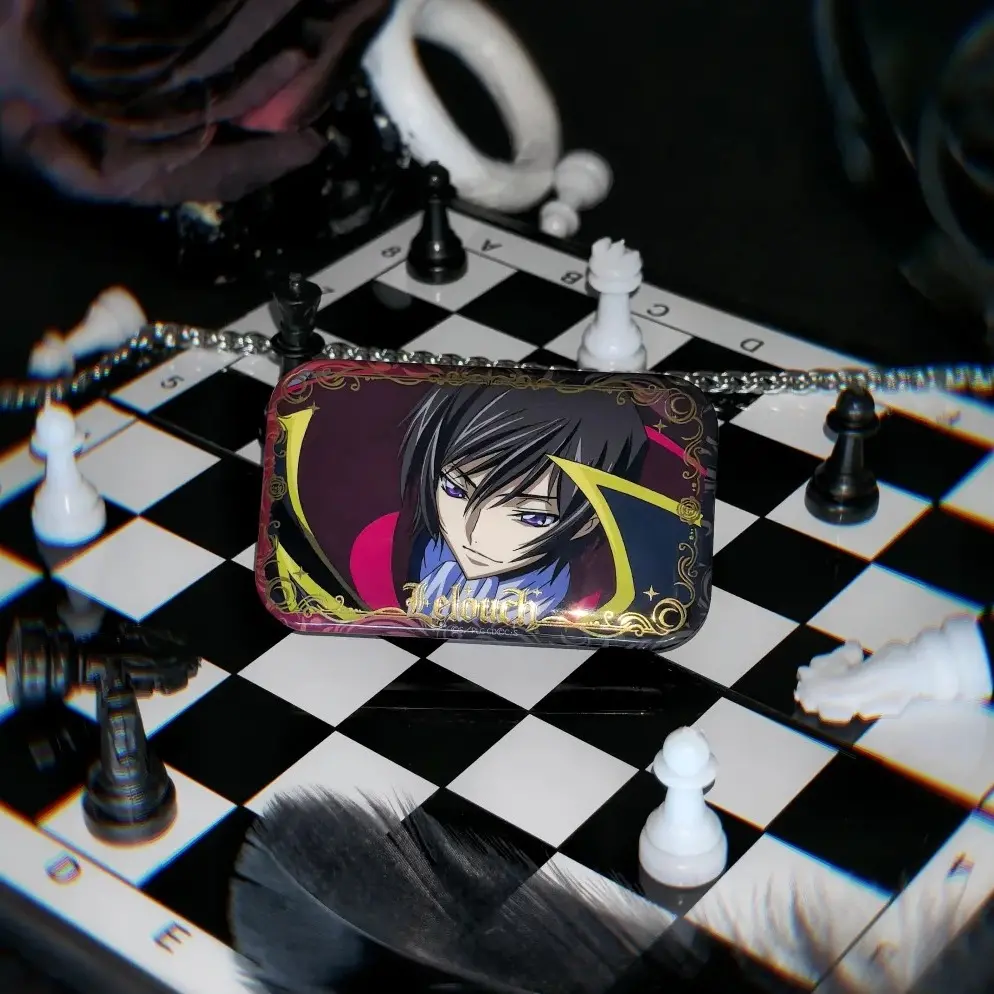
The 3 mm wrap edge and nine laminate choices are the two decisions that change everything.
TL;DR
Rectangular pin badges from Popecho are tinplate-shell badges printed with a manga-optimised 4-colour process and sealed under one of nine laminate films. The single most consequential file decision is the 3 mm wrap-around edge: artwork that strays too close to the cut line folds onto the badge back and disappears from the front face. Open your chosen size variant in Popecho's onsite editor — the bleed boundary, cut line, and safe-zone overlay load automatically — then pick your laminate before you finalise colour choices.
What This Subtype Actually Demands
Rectangular pin badges behave differently from round ones in one practical way: the fixed aspect ratio is the starting constraint, not the finishing detail. Popecho produces this line in four locked orientations — 45×71 mm portrait, 71×45 mm landscape, 55×86 mm portrait, and 86×55 mm landscape — and you choose your orientation at order time. There is no circular option and no custom die shape in this line, so composition decisions (landscape vs. portrait, character facing, text placement) must be made before artwork is finalised.
The second fixed constraint is the tinplate shell construction. A 3 mm border of your artwork wraps around and presses onto the badge back . That wrap zone is not decorative bleed — it is a structural fold, and anything placed inside it will be invisible from the front. Design for the visible face first; treat the outer 3 mm as lost territory.
Setting Up the Artwork
The full canvas for the 45×71 mm finished face is 56×82 mm at 300 DPI — that 6 mm of extra dimension on each axis is the bleed added to all four sides. At 300 DPI the pixel target is 661×969 px for that size; submitting artwork at the wrong pixel count or lower resolution is the most commonly flagged submission error and produces visibly blurry output.
Popecho's onsite editor loads the correct rectangular cut line, bleed boundary, and safe-zone overlay automatically when you open a size variant — you do not need to build the canvas from zero or calculate the bleed yourself. A template is available in the catalog as a starting reference inside the editor, which helps if you want to check composition before uploading your final file.
Fill artwork edge-to-edge to the red bleed boundary. Keep all critical text and character faces at least 3 mm inside the finished cut edge — the editor's safe-zone overlay marks exactly where that boundary sits. Submit PNG or JPG only, RGB colour mode, maximum 3 MB per file. CMYK files will shift in hue and saturation on the physical badge; the cart preview will reflect the shift, which is your signal to correct colour mode before placing the order.
Surface and Production Decisions
The 4-colour print process on this line is tuned for manga and illustration colour profiles — it handles saturated character palettes and clean linework well. What it does not protect: extremely thin coloured strokes, lines thinner than roughly 0.3 mm, and any stroke with a semi-transparent or soft-brush edge. These fall outside the quality guarantee and have been documented as producing inconsistent results. If your design relies on hair-thin details or sketch-style linework, test at MOQ 1 before committing to a larger run.
Laminate choice interacts directly with the artwork. High-gloss clear and matte are neutral coatings — colour reads close to screen. The five holographic and laser films (star, heart, fireworks, shattered-glass, diagonal-pillar) add a semi-transparent patterned overlay that sits on top of the print. Light or near-white areas in your artwork will let the holographic pattern show through most strongly, making the finish a design co-author rather than a neutral surface treatment. Decide on laminate before you lock your colour palette, not after.
Soft-touch tactile laminate deserves its own note: the velvety matte surface reads colour slightly cooler and darker than on gloss. If accurate skin tones or specific brand colours matter, factor in that shift when evaluating your screen proof.
What Trips Creators Up
Artwork placed too close to the edge. The 3 mm wrap zone folds onto the badge back. Faces, text, and key design elements must sit inside the safe-zone overlay in Popecho's editor — not just clear of the bleed line.
Wrong colour mode at upload. Submitting a CMYK file causes a visible hue and saturation shift on the physical badge. Check the cart preview: if the colours look wrong there, the file is still in CMYK. Convert to RGB and re-upload before ordering.
Underestimating holographic overlays. Laser and holographic laminates are not transparent coatings — they visually compete with pale or low-contrast artwork. Preview how your specific design reads under the pattern before choosing these finishes.
Thin semi-transparent lines. Stroke-based or sketch-style artwork with soft or semi-transparent edges falls outside the 4-colour print guarantee for this line. Rasterise and flatten those elements, or test at a single unit before scaling.