Picket Fan File Setup: Bleed, Sides, and Laminate
Picket Fan File Setup: Bleed, Sides, and Laminate
The double-surface decisions that determine how your custom uchiwa fan looks in hand.
TL;DR
A custom picket fan gives you two fully independent print surfaces on a laminated round face — front and back each need their own 300 DPI CMYK canvas at the correct size (296 × 296 mm for large, 245 × 245 mm for medium), with 5 mm of bleed extending to the outer boundary. The single most important decision before you upload is choosing the bone-hidden laminate option if edge cleanliness matters for your drop — then open Popecho's onsite editor to place and proof both sides before the 10-day production run begins.
What This Subtype Actually Demands
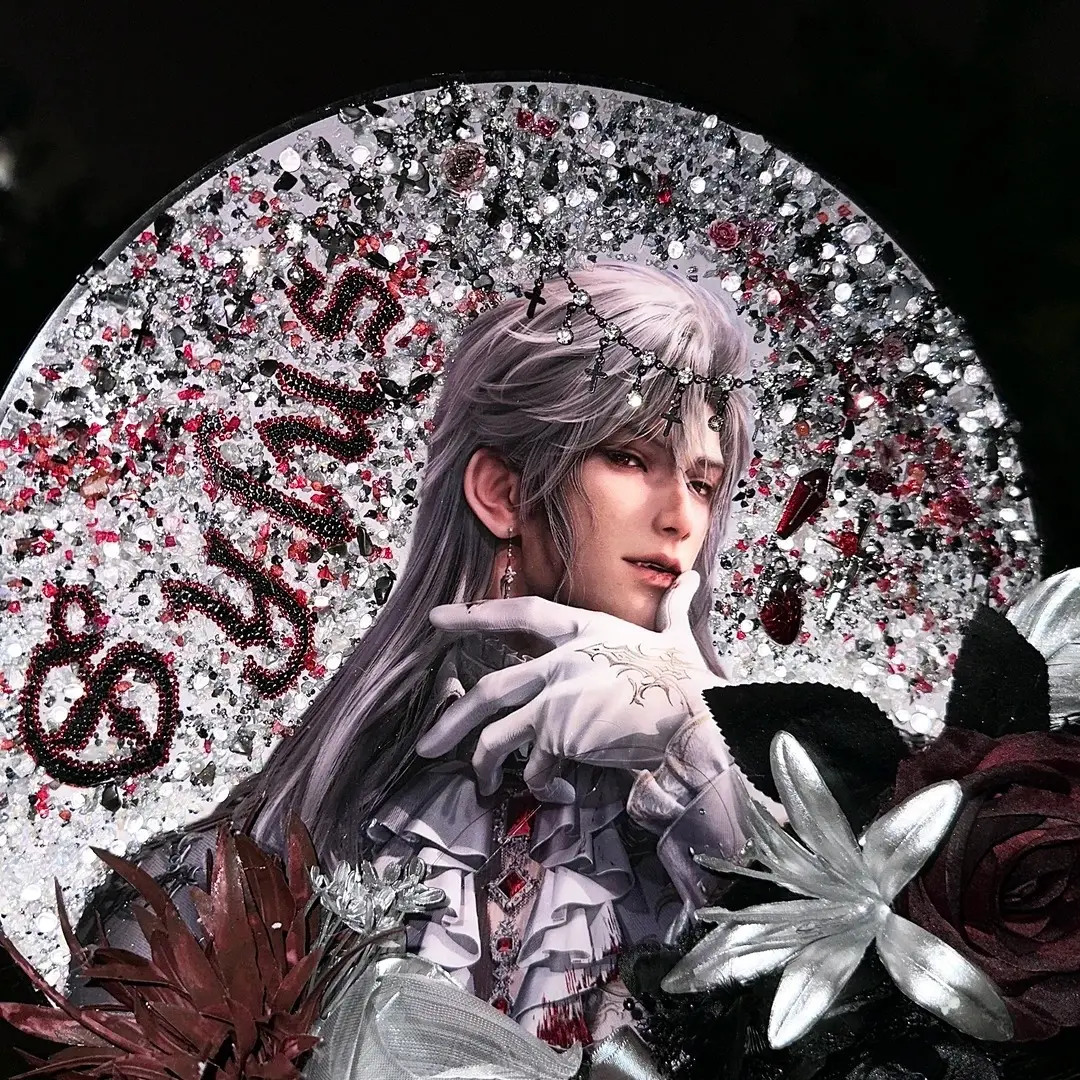
A round picket fan is not a poster you fold in half. The circular die-cut shape means every corner of your rectangular source file gets trimmed away — what remains is a perfect circle, and the edge of that circle is exactly where bleed gaps, tight text, and handle-spine visibility all become visible problems. The large 28.6 cm format is the standard community size for K-pop concert waving; the medium 23.5 cm version works as a mini companion piece. Both share the same production logic but at different canvas scales, so mixing them in one run means two separate file setups. Front and back are printed independently and then laminated together — they read as one object in the hand, but they are produced as two separate surfaces. That independence is a creative asset, but it also means every alignment and color decision doubles.
Setting Up the Artwork
Popecho's onsite editor loads the die-cut outline, bleed boundary, and safe-zone overlay automatically when you open your chosen size variant — you do not need to build the circular crop guide from scratch. The editor runs a double-view layout for this product, so you switch between the front and back canvases inside the same session and can proof both sides before submitting. Two starter templates are available in the template catalog if you want a pre-structured starting point rather than a blank canvas.
Canvas dimensions: 296 × 296 mm for the large fan, 245 × 245 mm for the medium. The finished cut lands at 286 × 286 mm (large) and 235 × 235 mm (medium), leaving a 5 mm bleed margin on every side. Every background color or art element must extend fully into that 5 mm bleed zone. Any area left blank inside the bleed boundary will print white and appear as a white ring on the finished fan edge — there is no mechanical fix for this at production. Keep all critical text and key artwork at least 3 mm inside the finished cut line. Export at 300 DPI in CMYK color mode; RGB files, especially those pulled from phone storage with boosted saturation, will shift noticeably toward over-saturation at print output.
Surface and Production Decisions
Three laminate options are available: anti-scratch gloss film, crystal gloss film, and crystal gloss film with the bone-hidden finish. The bone-hidden variant is the one that wraps over the handle-to-face junction so the plastic spine rib does not interrupt the printed artwork at the edge. For any fan-made drop where edge presentation is part of the product quality signal, bone-hidden is worth selecting — it closes the seam that would otherwise show the spine material between the face and handle. On standard crystal gloss and anti-scratch gloss, the spine color (white, black, pink, or blue) remains visible at that junction, which is fine when the handle color is intentionally part of your design.
Handle color is chosen at order time, not in the file. The four options — white, black, pink, blue — are visible at the grip and at the spine edge on non-bone-hidden variants, so your background color and handle color interact. A dark illustration fan on a white handle reads differently than the same design on a black handle. Front and back may show minor color variance between surfaces; this is a stated production-normal outcome from the double-sided lamination process and is not a defect. Sparkle or holographic background stocks can suppress fine detail and push saturation higher than expected — if your design uses a glitter base, order a single sample before committing to a full run.
What Trips Creators Up
Leaving blank bleed. The most common edge problem is a white ring around the finished fan. It happens when the background color stops at the cut line instead of extending into the 5 mm bleed zone. In Popecho's editor, the bleed boundary is marked — fill past it.
Uploading RGB from a phone. Phone image libraries store files in RGB with boosted saturation. What looks accurate on screen will print noticeably more vivid than intended. Convert to CMYK and export at 300 DPI before uploading.
Placing text near the circular edge. Creators used to square or rectangular merch sometimes push text close to the outer boundary. On a circular die-cut, that margin disappears faster than it looks on screen. Keep everything critical at least 3 mm inside the finished cut line.
Treating both sides as one file. Front and back are independent surfaces with separate upload slots. Submitting one file and expecting it to mirror or repeat automatically will not produce the intended result — each side needs its own prepared canvas.