Photocard Binder Cover: The Full-Wrap Canvas Setup
Photocard Binder Cover: The Full-Wrap Canvas Setup
How the 388 × 213 mm wrap, spine zone, and PU stretch all affect your final print.
TL;DR
A custom A6 photocard binder from Popecho prints your artwork across a single 388 × 213 mm canvas that wraps back cover, spine, and front cover in one continuous sheet. The decisions that change the finished result are canvas zone planning, bleed extension, and how the PU leather's natural stretch interacts with portrait or face art. Open the product in Popecho's onsite editor, get the safe-zone guides in place, and confirm your art is RGB at 300 DPI before you upload.
What This Subtype Actually Demands
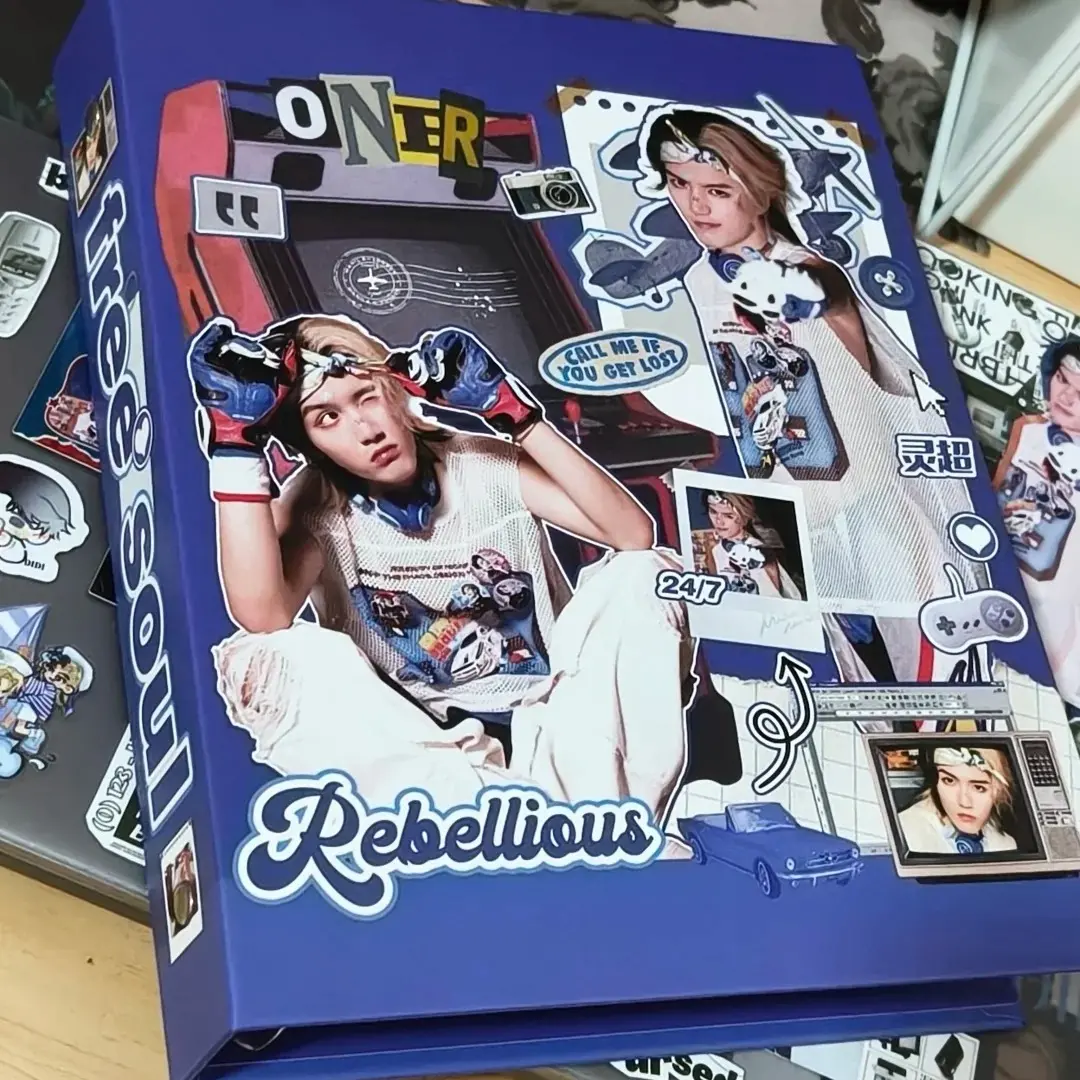
A photocard binder with a custom-printed PU leather cover is not a flat print job — it is a continuous wrap. The 388 × 213 mm canvas spans all three panels: back cover on the left, spine at center, front cover on the right. Those three zones are not decorative regions you label after the fact; they need to be designed as one composition from the start, because the artwork is printed as a single sheet and then hand-wrapped around the binder structure.
The spine runs approximately 40 mm wide at center. It sits between two finished cover panels that each measure 170 × 195 mm. If your art has a clear focal element — a character portrait, a logo, a team shot — you need to know which panel it lands on before you commit to the composition, because the spine crease will physically interrupt any element that straddles it.
Setting Up the Artwork
Open the product in Popecho's onsite editor and the full 388 × 213 mm canvas loads with the safe-zone overlay already in position. That overlay does the zone-splitting work for you: you can see where the spine falls, where the bleed boundary sits, and exactly how much margin you have before any edge becomes a cut risk.
Bleed is 9 mm on all four sides. Every background color, gradient, or texture must extend fully to the canvas boundary — do not stop at the finished cover edge. Elements you want visible on the finished binder should sit at least 9 mm inside the bleed line. Anything inside that margin will be trimmed.
File requirements before you upload: PNG or JPG, 300 DPI minimum, RGB color mode only. CMYK files are not accepted — Popecho's production line will reject them, and even a partial CMYK conversion causes color shift before the file is flagged. Max file size is 10 MB. If your source artwork is low-resolution or shows compression artifacts, run an image quality repair pass before uploading; the physical PU surface will not soften a blurry source file.
(The editor loads one config for this binder variant — there is no second view to switch between, so your full composition sits on one canvas.)
Surface and Production Decisions
PU leather has two production characteristics that directly affect artwork choices. First, it has inherent color variance: what you see on your monitor will shift on the physical cover, and colors in the very light range (values below roughly 20%) or neon/out-of-gamut range often compress or saturate unexpectedly. Soft pastels and near-white backgrounds are the most common surprise — proof against a previous binder order or accept that the production range for those tones is wider than screen.
Second, PU leather stretches during hand-wrapping assembly. On a solid color or pattern, this is invisible. On a portrait — especially a small face or detailed character close-up — it can cause visible distortion at the eyes or jawline. The fix is straightforward: scale face and portrait elements up, or position them away from the outer edges where wrap tension is highest. The center of the front cover panel is the most dimensionally stable zone for face art.
Handmade cover assembly also produces occasional minor imperfections: thread ends at the binding, light surface marks, or a faint spine crease. These are within Popecho's normal production tolerance and are not treated as defects. Ring clips are intentionally not punched through to the spine; if you press them by hand they will feel slightly loose — this is by design.
Production lead time is approximately 15 days. MOQ is 1 unit, so a single proof order before a larger run is practical.
What Trips Creators Up
Designing front-cover-only and ignoring the wrap. The canvas is 388 mm wide, not 170 mm. Artwork sized for the front panel alone will tile or stretch unpredictably across the full canvas. Design all three zones together.
Placing text too close to the spine center. The spine crease cuts through any element that straddles the panel boundary. Keep all readable text and key icons at least 15–20 mm clear of the spine fold on both sides.
Uploading a file without checking color mode. CMYK files cause color shift at the production stage. RGB is required. Check color mode in your design app before exporting — the file name alone won't tell you.
Small face art near the outer edges. PU stretch is most pronounced near the corners and outer edge of the wrap. A small portrait placed near the corner of the back cover is a distortion risk. Move it inward or scale it up before finalizing.