
Acrylic Hair Clip File Setup: Shape, Edge, and Finish
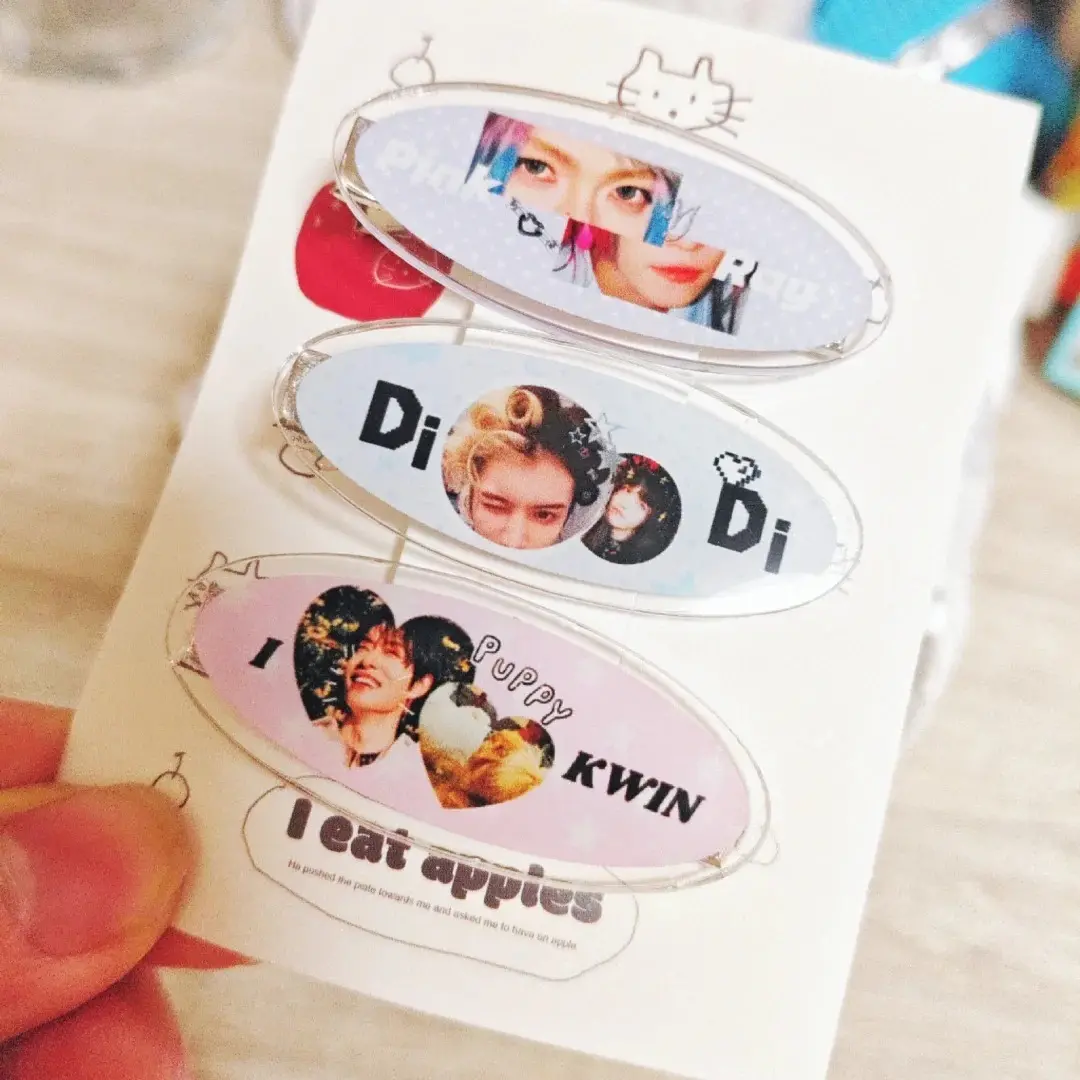
Acrylic Hair Clip File Setup: Shape, Edge, and Finish
How your artwork silhouette and PNG transparency control the rainbow-edge result.
TL;DR
Popecho's custom acrylic hair clip is a 5 cm CNC die-cut acrylic piece with a bonded silver alligator clip and an optional iridescent rainbow-edge finish. The decision that controls the most about the final product is your file format and silhouette choice: PNG with a transparent background is required for the rainbow-edge effect and for a shaped die-cut; JPG forces a white rectangle. Start by opening the product in Popecho's onsite editor, where the die-cut outline and dashed safe-zone guide load automatically.
What This Subtype Actually Demands
Acrylic hair clips sit at the intersection of wearable accessory and character merch — and the production logic reflects that. Unlike a standee that stays on a shelf, a hair clip flexes at the alligator hinge every time it is opened and closed, so the acrylic body needs a silhouette that is bold enough to survive repeated handling. The metal alligator clip is permanently bonded to the reverse, which means your artwork must be oriented right-side-up relative to the clip — there is no flipping it later.
The rainbow-edge option adds another layer of constraint: the iridescent fringe generates at the transparent border along the cut edge. The more irregular or character-shaped your silhouette, the more dramatic the fringe reads. A simple oval gives you a thin, even halo; a complex character outline gives you a fringe that follows every curve and spike. That relationship between silhouette shape and edge effect is the creative lever that makes this subtype distinct from any other acrylic accessory.
Setting Up the Artwork
The canvas for this product is 45 × 45 mm (531 × 531 px) at 300 DPI, RGB colour mode. PNG with a transparent background is the only format that preserves both the shaped die-cut and the rainbow-edge effect — JPG forces a white base layer and produces a rectangular cut regardless of your artwork shape.
When you open the product in Popecho's onsite editor, the die-cut outline for this variant loads automatically as a live guide. One of the two editor configurations also surfaces a dashed safe-zone boundary — use that dashed line to confirm that your key design elements (face, logo, text) are pulled back from the cut edge before you finalise. The editor also includes one starter template in the catalog, which is a useful starting point if you want to see how a typical character silhouette sits inside the canvas before placing your own artwork.
Keep your export under 2 MB and use a quality-optimised (Q-grade) PNG to avoid compression artefacts, which become visible on high-contrast edges at this scale. If you are using the onsite text tool rather than uploading artwork, note that the field accepts a minimum of one character — and emoji or special symbols will not print, so keep text to standard characters only.
Surface and Production Decisions
The layer stack is acrylic base plus UV-printed layer plus a 1 mm PET film cap — total body thickness around 2 mm. Popecho uses high-transparency acrylic stock, which means any transparent zones in your artwork will read as genuinely clear rather than milky. That clarity is an asset for the rainbow-edge finish, but it is something to plan for: if the clip is worn over dark hair, the clear zones will show that background colour through.
CNC precision cutting follows your uploaded silhouette exactly, so overly fine or thin outline details — think single-pixel-wide spikes or very narrow bridges between design elements — may reduce edge integrity at the 5 cm scale. Keep the thinnest part of your silhouette at a visually bold width.
Colour mode matters more than most creators expect. CMYK files cause colour deviation and unexpected colour loss on Popecho's UV printing process. Convert everything to RGB before uploading. Highly saturated neon values (colour ratio above 20) can shift unpredictably — check your artwork in the editor's 2D/3D preview and adjust before submitting, since the preview reflects RGB rendering and is the closest available colour reference.
Popecho produces these clips in 8 days, with MOQ starting at 5 pcs — low enough to sample a single character design before scaling a full character lineup.
What Trips Creators Up
Uploading a JPG instead of PNG. The most common setup mistake. JPG strips transparency and forces a white rectangular cut — your character silhouette disappears entirely, and the rainbow-edge effect cannot render. Always export as transparent PNG.
Designing without accounting for the clip orientation. The alligator clip is fixed to the reverse and cannot be repositioned. If your artwork is designed sideways relative to how the clip opens, every finished piece will look rotated when worn. Check orientation before finalising.
Ignoring the dashed safe-zone guide in the editor. Design elements placed too close to the cut edge risk being partially trimmed. Popecho's editor surfaces the dashed boundary precisely so you can catch this before production — check it every time.
Submitting CMYK artwork. Colour shift and loss are guaranteed with CMYK uploads. Convert to RGB in your design application before exporting, not after — post-export conversion does not fully recover the original values.