Acrylic Pen Holder File Setup: The Drill Hole Changes Everything
Acrylic Pen Holder File Setup: The Drill Hole Changes Everything
How to place artwork around the pen slot, handle smart auto-crop, and avoid edge surprises on frosted acrylic.
TL;DR
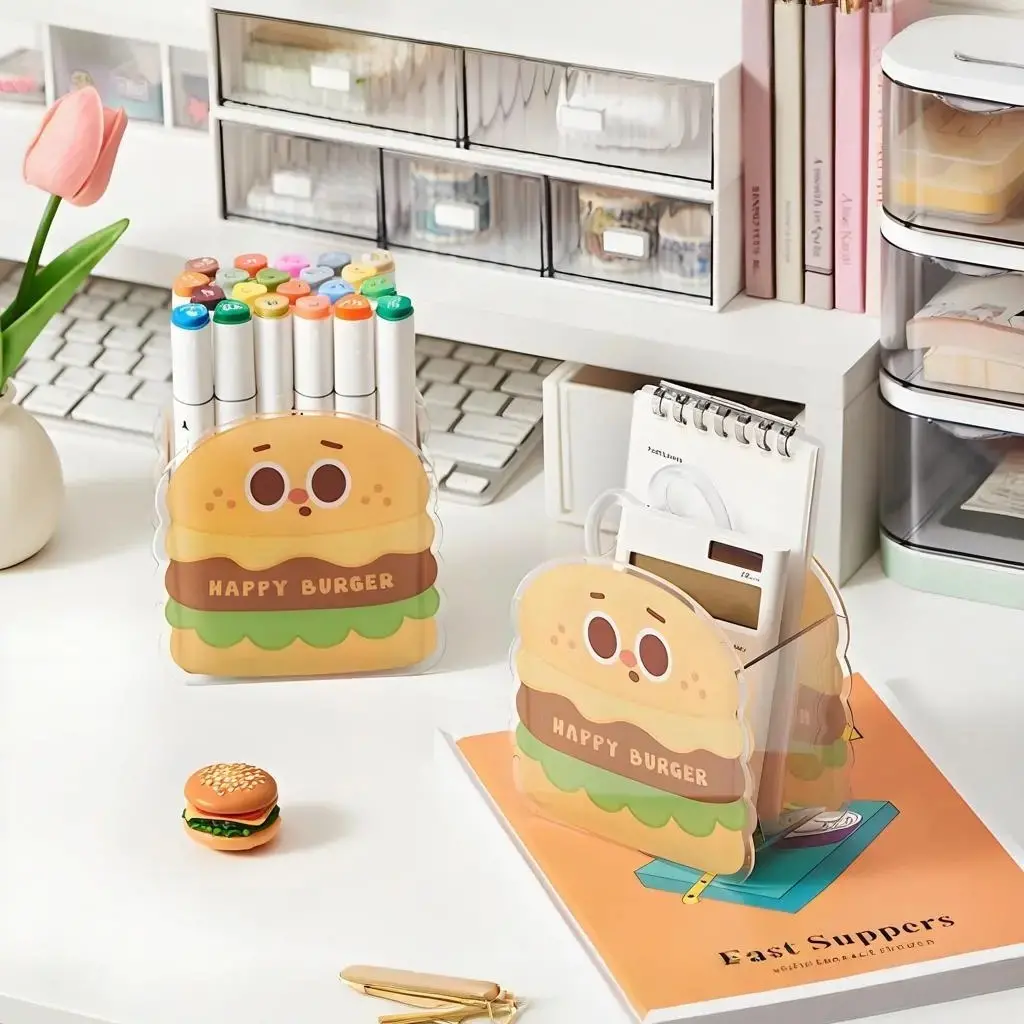
A custom acrylic pen holder is a die-cut acrylic piece that also functions as a real desk organizer — the character silhouette holds pens upright through a precision-drilled slot. That slot position is fixed, and artwork placed in the lower-centre zone will be cut away or obscured by it. Submit a transparent-background PNG at 300 DPI with 2.5 mm bleed, open the product in Popecho's onsite editor to check the dashed drill-hole overlay before you confirm, and the rest of the setup follows naturally.
What This Subtype Actually Demands
Most acrylic die-cuts are purely decorative — flat standees that sit on a desk and look good. The acrylic pen holder adds a structural job on top of the visual one: it has to hold real pens and accessories upright without tipping. That changes the file setup in one critical way. A precision-drilled slot sits at a fixed position near the lower-centre of the art canvas, and that slot is not decorative. Artwork elements that land inside that zone will either be obscured by the opening or physically removed by the drill. Creators coming from standee or badge production sometimes treat this like any other die-cut and fill the canvas edge to edge — that habit is the single most common mistake on this subtype. Plan for the slot first, then build the composition around it.
Setting Up the Artwork
Popecho's onsite editor is the right starting point here. When you open the acrylic pen holder product, the editor loads a dashed template overlay that marks both the die-cut boundary and the pen-slot clearance zone simultaneously. The bleed line sits 2.5 mm outside the intended cut path — extend your artwork to meet it on all sides so the laser cut lands inside colour rather than on a white fringe.
Background handling is the other non-negotiable. Export your character on a fully transparent PNG background. The smart auto-crop reads your character outline and follows it to generate the die-cut silhouette. Submit a JPG or a PNG with an opaque fill and the system defaults to a rectangular cut — your character shape disappears entirely. Inside the editor, the live preview shows the expected silhouette so you can confirm the crop before production starts.
Keep all critical detail — face, text, key linework — well inside the safe zone, away from both the cut edge and the drill-hole zone. The dashed overlay inside the editor makes both boundaries visible at once, so there is no guesswork about which region is safe.
Surface and Production Decisions
The acrylic here is thickened frosted-light acrylic. The frosted surface is the practical detail that affects colour perception: it diffuses direct light, so colours read slightly softer and less saturated in hand than they appear on screen. Saturated, high-contrast artwork compensates well. Light pastels near the silhouette edge are a specific risk — they can visually merge with the transparent acrylic body and lose definition, especially when the holder is in use with pens inside and desk light reflecting through.
The laser-cut edge on thickened acrylic can show a faint heat mark at the cut perimeter. This is a known material trait at this thickness, not a production defect, and it is most visible on very light or white artwork at the very edge of the silhouette. Keeping the bleed extension filled with colour rather than fading to transparent at the boundary reduces how noticeable this is.
The holder ships flat in two pieces — the character body and a small base-foot insert — and the end user assembles them. If you are creating product listing images or unboxing content, show the assembly step explicitly so buyers understand what arrives in the package.
What Trips Creators Up
Ignoring the drill-hole zone. The pen slot is not marked on the final print, but it physically removes material from a fixed region near the lower-centre canvas. Any detail placed there — a character's feet, a logo, a name tag — gets cut away. Use the dashed overlay in Popecho's editor to check clearance before confirming.
Submitting a JPG or opaque-background PNG. Without a transparent background, the smart auto-crop cannot read the character outline and defaults to a rectangular cut. The silhouette is lost. Always export a transparent PNG as the primary submission file.
Pastels and light fills at the cut edge. The frosted acrylic surface softens colours, and light fills at the silhouette perimeter can disappear into the material visually. Push saturation slightly higher than you would for paper print, especially in edge regions.
Skipping the bleed extension. A 2.5 mm bleed is required beyond the die-cut path. Artwork that stops at the intended cut line leaves a visible white or colour-fringe edge after laser cutting. The dashed template in the editor shows exactly where the bleed boundary falls — extend artwork to meet it.