
Custom Memo Pad File Setup: Border vs. Writing Zone
Custom Memo Pad File Setup: Border vs. Writing Zone
How to design artwork that prints on all 50 sheets without killing writability.
TL;DR
A custom memo pad from Popecho is a glue-bound 50-sheet pad where your full-color artwork fills the decorative border of every single sheet — the plain white center is a fixed, non-negotiable writing zone. The most critical design decision is keeping your artwork contained within the border region at the correct bleed and safe-zone margins. Open the product in Popecho's onsite editor, pick your size variant, and the correct canvas with safe-zone overlay loads immediately — that's your fastest path to a production-ready file.
What This Subtype Actually Demands
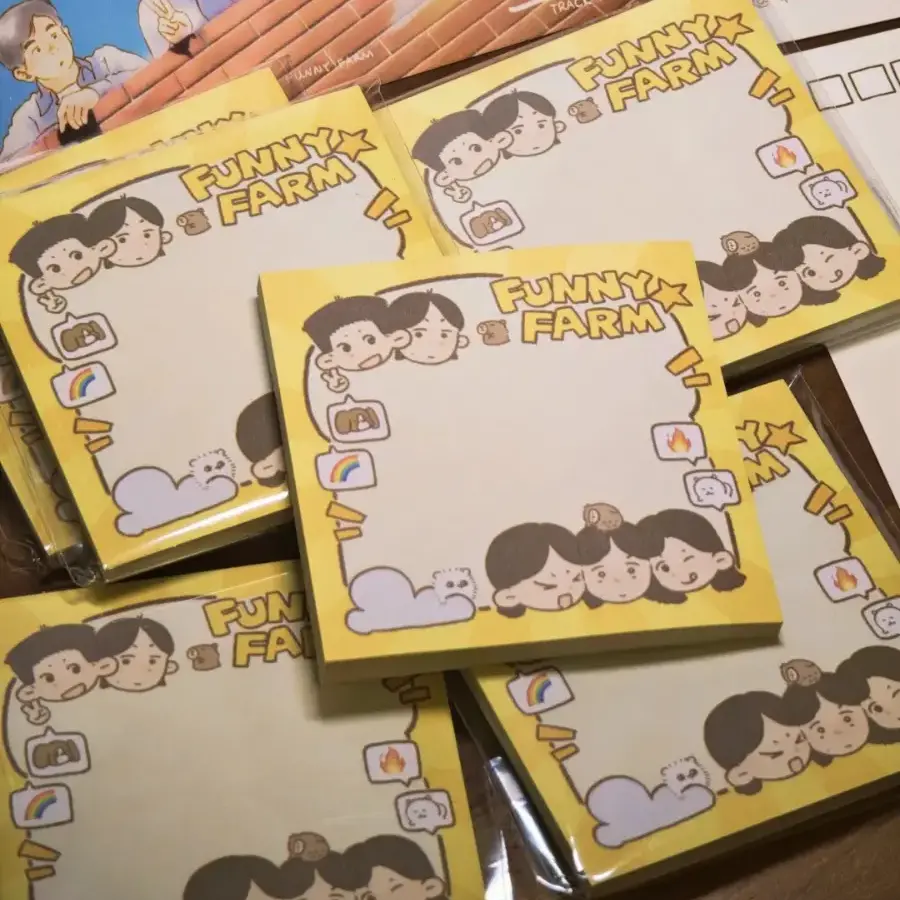
A glue-bound memo pad is not a postcard with a blank back — it is a functional writing tool that must survive 50 tear-off cycles while carrying your artwork on every single sheet. That repetition changes how you think about design. A border motif that reads well once has to read well across the full stack, and it has to do so without encroaching on the central writing space that makes the pad usable at all.
The two available sizes — 62×84 mm and 79×84 mm — are compact. At those dimensions, the decorative border region is genuinely narrow. Intricate characters, dense linework, and small logotype details compete for space with the blank writing zone and the glue strip at the top edge. The product's design constraint is not about style preference; it is about physical function.
(The 50-sheet count also means your per-sheet print cost is real — artwork worth repeating is artwork worth preparing carefully.)
Setting Up the Artwork
Each size variant requires its own art file. The canvases are not interchangeable: 62×84 mm and 79×84 mm share the same sheet count and binding but the border proportions differ, so artwork scaled from one will not sit correctly on the other.
Popecho's onsite editor handles this cleanly. When you select your size variant, the editor loads the correct canvas dimensions with the safe-zone overlay already positioned. The red inner boundary visible in the product's detail infographic represents that safe zone — keep all characters, logos, and key text inside it, away from both the bleed edge and the top binding margin where the glue strip sits.
File requirements: 300 DPI minimum, RGB color mode, 2 mm bleed on all sides, supplied as PNG, JPG, or PSD. Design your artwork to fill the border region and leave the center plain white or a very light tone — heavy ink coverage in the writing zone will compromise the surface for everyday use. Popecho's editor also includes one template in the catalog for this product; starting from that template gives you a pre-sized canvas with the border region already indicated, which saves a round of manual margin guesswork.
Surface and Production Decisions
Every sheet is printed with full-color offset or digital printing across the border zone. Color fidelity is strong, but screen-rendered previews — especially the stylized 2D and 3D mockups common in fan art workflows — cannot be reproduced with exact accuracy in print. If your art relies on specific saturated tones or gradient transitions, proof the file in a print-simulation view before committing.
Fine linework is the other pressure point. At 62–79 mm wide, a stroke thinner than roughly 0.3 mm risks filling or dropping out entirely. Border designs with delicate details — thin character outlines, small repeated patterns, hairline frames — should be simplified or thickened before submission.
The glue-top binding adds one more constraint: the top edge of every sheet disappears under the binding strip. Any artwork element placed within approximately 3–4 mm of the top edge will be partially or fully obscured. This is not a trim tolerance issue — it is a structural feature of how the pad is bound. Treat the top margin as a hard exclusion zone.
Production lead time from Popecho is approximately 23 working days. MOQ is 4 pcs, which is low enough for a meaningful proof run before scaling up.
What Trips Creators Up
Artwork drifts into the writing zone. The border region is narrow at these sizes, and it's easy to let design elements expand toward the center. Once the pad is produced, ink in the writing zone makes the surface less pleasant to write on. Keep all printed content deliberately outside the center area.
Both sizes get the same file. Because the two variants look similar in mockups, creators sometimes submit one art file for both. They are different canvases — open each variant separately in Popecho's editor and prepare a dedicated file for each.
Fine details survive the mockup but not the print. Fan art with intricate linework often previews cleanly on screen but softens or fills at print scale. Check all strokes against the 0.3 mm minimum before uploading.
The 4-hour modification window closes fast. Once your order moves into production, Popecho locks the file automatically at the 4-hour mark after payment. Review your artwork carefully before confirming — there is no retrieval after that window closes.