
Custom Makeup Pouch: File Setup for Clear PVC
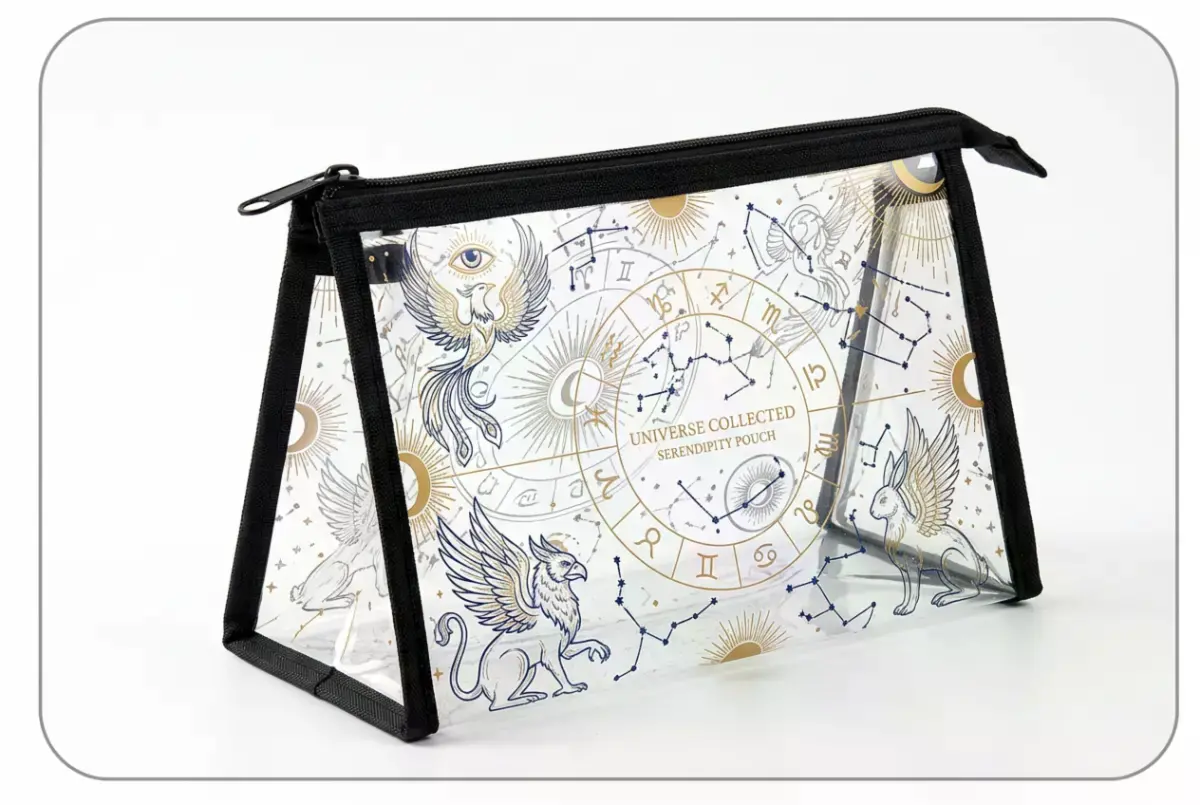
Custom Makeup Pouch: File Setup for Clear PVC
Background fill, double-sided layout, and safe-zone rules for a UV-printed triangular pouch.
TL;DR
The Custom Makeup Pouch is a UV-printed, double-sided clear PVC standing pouch available in two sizes — Large 230×140 mm and Small 190×120 mm — with a fixed black PU-edged zipper. The single decision that shapes every other setup choice is whether your artwork includes a solid white fill or leaves the PVC transparent. Open the product in Popecho's onsite editor to work with the correct canvas, bleed boundary, and front/back surfaces already in place, then focus on getting that background call right before anything else.
What This Subtype Actually Demands
A triangular PVC cosmetic pouch is not a flat print product pretending to be a bag. The trapezoidal standing form means your flat artwork wraps across a shaped 3D surface — a design that looks perfectly centred on screen may read slightly off-axis once the bag is filled and stood upright. UV printing runs double-sided, so both faces are live design surfaces with equal production weight. The black PU binding around every edge is fixed and cannot be changed; it will overlap the outer few millimetres of your artwork, which makes the 9 mm safe zone a hard production boundary, not a soft suggestion. Clear PVC adds one more layer of intent: every transparent area in your file becomes a window straight through to the bag's contents.
Setting Up the Artwork
Popecho's onsite editor loads the correct canvas and bleed boundary for each size variant the moment you open it. Large sits at 231×150 mm (2728×1772 px) and Small at 191×130 mm (2256×1535 px), both at 300 DPI — the editor holds those dimensions so you do not need to calculate them manually. The editor also presents front and back surfaces as separate views, which is the right place to decide what each face is doing: the front typically carries your main character or focal artwork, while the back can carry a secondary pattern, logo lockup, or complementary fill. You can start from one of the two available template frames in the editor's template catalog rather than building both canvases from zero.
Keep all text, character faces, and critical detail at least 9 mm inside every canvas edge — the bleed zone is trimmed away entirely. File format: PNG or JPG, RGB colour mode, maximum 10 MB per image. Submit in RGB from the start; CMYK files are accepted but auto-converted, and the saturation shift is noticeable.
Surface and Production Decisions
The background fill question is the one choice that changes the finished object most visibly. A transparent PNG lets the clear PVC body do its job — the interior contents show through, which works well for display-oriented pieces like photocard pouches or themed merch sets where the interior is part of the visual. A white-filled PNG prints a solid white backing behind your artwork, giving you an opaque, poster-like result. A JPG always includes its background colour, so it behaves like a white-fill file whether you intend it to or not.
UV ink on gloss PVC reads sharp and colour-vivid, but very light values — anything below roughly 20% — risk washing out on the reflective surface. Saturated midtones and deep colours reproduce most reliably. The double-sided UV run means both faces go through the same process, so apply the same colour-density thinking to the back face as you do to the front.
The black PU edge binding is a structural element: it provides the clean border finish and waterproof seam, but it physically overlaps the outer boundary of your print. The safe zone is your real visible edge, not the canvas edge.
What Trips Creators Up
Semi-transparent and gradient layers print incomplete. UV printing on PVC does not handle partial opacity. Any layer with a gradient fade or reduced transparency will produce an unfinished result, and this outcome is outside Popecho's after-sale policy. Use fully opaque fills or fully transparent areas — nothing in between.
Text and faces too close to the canvas edge get cropped. The 9 mm bleed zone is cut away during finishing. Artwork placed there is not guaranteed to survive, and the PU binding covers what remains. Move everything critical well inside that margin.
CMYK files arrive looking different from the source. Auto-conversion at production shifts saturation in ways that are hard to predict from a screen proof. The fix is simple: convert to RGB before uploading.
The flat canvas does not show the 3D read. A design that looks centred on the flat editor canvas may sit differently once the bag is filled and stood upright due to the trapezoidal gusset. Use Popecho's editor mockup to check the standing form before finalising your layout.