
Canvas Tote File Setup: Two Sizes, One Transparency Rule
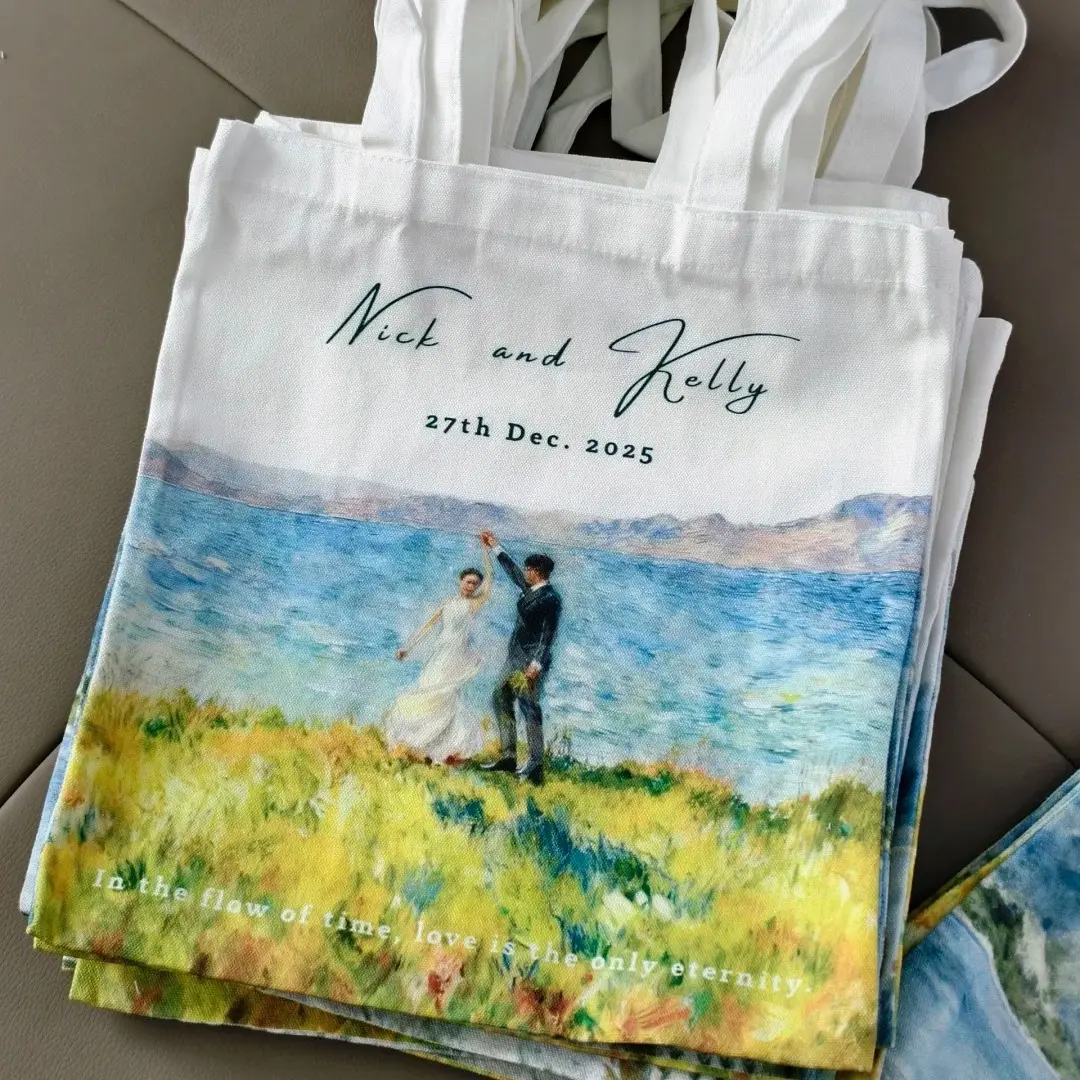
Canvas Tote File Setup: Two Sizes, One Transparency Rule
Why your PNG export setting decides whether character art floats or boxes on white canvas.
TL;DR
Popecho's custom canvas tote is a 12oz white-base bag produced via heat-transfer print in two size variants — portrait 350×400mm and landscape 430×320mm — each with its own artwork canvas dimension. The decision that changes the final result most is whether you export a transparent or white-background PNG: on white fabric, a white background prints as a visible rectangle. Open your size variant in Popecho's editor, confirm the print-area boundary, set RGB mode, and export a transparent PNG before submitting.
What This Subtype Actually Demands
Canvas tote bag printing sits at the intersection of textile production and graphic reproduction, and that combination creates constraints that flat sticker or card workflows simply don't surface. The white-base 12oz canvas means your artwork lands on a fabric that is already white — which sounds forgiving but is actually the source of the single biggest file mistake creators make on this product.
Beyond that, the two size variants — portrait 350×400mm and landscape 430×320mm — are not interchangeable. Each has a different print area (230×280mm versus 280×210mm), a different pixel canvas at 300 DPI, and a different compositional logic. A portrait illustration centred for vertical reading will not simply adapt to a horizontal canvas; the art needs to be recomposed, not just resized.
These two realities — the transparent-PNG consequence and the dual-canvas requirement — drive most of the production decisions covered in this article.
Setting Up the Artwork
Start by selecting your size variant inside Popecho's editor. The editor automatically loads the correct print-area boundary for whichever variant you choose — portrait or landscape — so you can see precisely where your artwork lands on the bag before you commit to a file. There are also two templates in the template catalog to start from if you want a pre-sized canvas rather than building from zero.
For portrait, your working canvas is 230×280mm at 300 DPI, which resolves to 2717×3307 pixels. For landscape, it is 280×210mm at 300 DPI, or 3307×2480 pixels. The finished bag is larger than the print area in both cases — the canvas seams, handles, and surrounding fabric are outside your artwork zone entirely, so there is no bleed to extend into.
Keep all key art and text inside the stated pixel canvas. The print-area overlay in Popecho's editor makes this straightforward: if a character's hand or a logo edge clips outside the boundary shown in the editor, it will not appear on the finished bag.
Colour mode must be RGB before upload. CMYK files cause hue and brightness shifts in production, so if your source artwork was built in a CMYK workflow, convert it inside your editing software first.
Surface and Production Decisions
Heat-transfer printing on a white-base canvas uses a white underbase layer to anchor colour vibrancy on the fabric. The result is saturated, legible colour across most of the gamut — with one meaningful exception. Highly saturated fluorescent or neon tones, particularly those with a CMYK absorption-ink component value below roughly 20, will reproduce noticeably duller on the finished bag than they appear on screen. If your design relies on those tones for visual impact, order a single-unit sample before committing to a larger run. MOQ is 1 unit, so a proof pass is genuinely practical here.
Beyond the neon caveat, a normal minor colour variance between screen preview and physical print is a stated characteristic of canvas bag production — not a defect. Popecho's editor preview gives you a strong working approximation, but the physical substrate will always read slightly differently from a backlit display.
Back panel: plain white canvas. This product is single-sided print only, so the back carries no artwork.
What Trips Creators Up
White background exported instead of transparent. Coming from sticker or acrylic workflows, many creators export their character art with a white background by default. On white canvas, that white layer prints as a solid white rectangle around the character — noticeable at the edges and usually unintended. Export as a transparent PNG and let the canvas fabric be your background.
Reusing the portrait file for landscape. The two variants have genuinely different aspect ratios and pixel dimensions. A composition built for 2717×3307 px will be cropped or distorted at 3307×2480 px. Build a separate file for each size, or recompose the art with that orientation shift in mind.
Submitting in CMYK. Designers who work in print-production software often leave files in CMYK. Upload that file and the hue shifts immediately in production. Convert to RGB in your editing software before opening the product in Popecho's editor.
Expecting neon to hold. Fluorescent colours that look electric on screen absorb differently on fabric. If your palette includes extreme neons as a core design element, test one unit first.