Custom Photocard Sleeve: File Setup and Finish Decisions
Custom Photocard Sleeve: File Setup and Finish Decisions
Two canvas surfaces, four PU finishes, and the background rule that matters most.
TL;DR
A custom photocard sleeve is a 78×140mm PU shell with a transparent front window and a fully printed back, finished with a ball-chain loop for hanging. The single most consequential decision is finish choice — glitter and holographic star substrates compete visually with light or pale artwork — followed closely by the transparent-background rule, which will make or break your print. Start by opening the product in Popecho's onsite editor, pick your finish variant, and work through both the front and back canvas before you upload.
What This Subtype Actually Demands
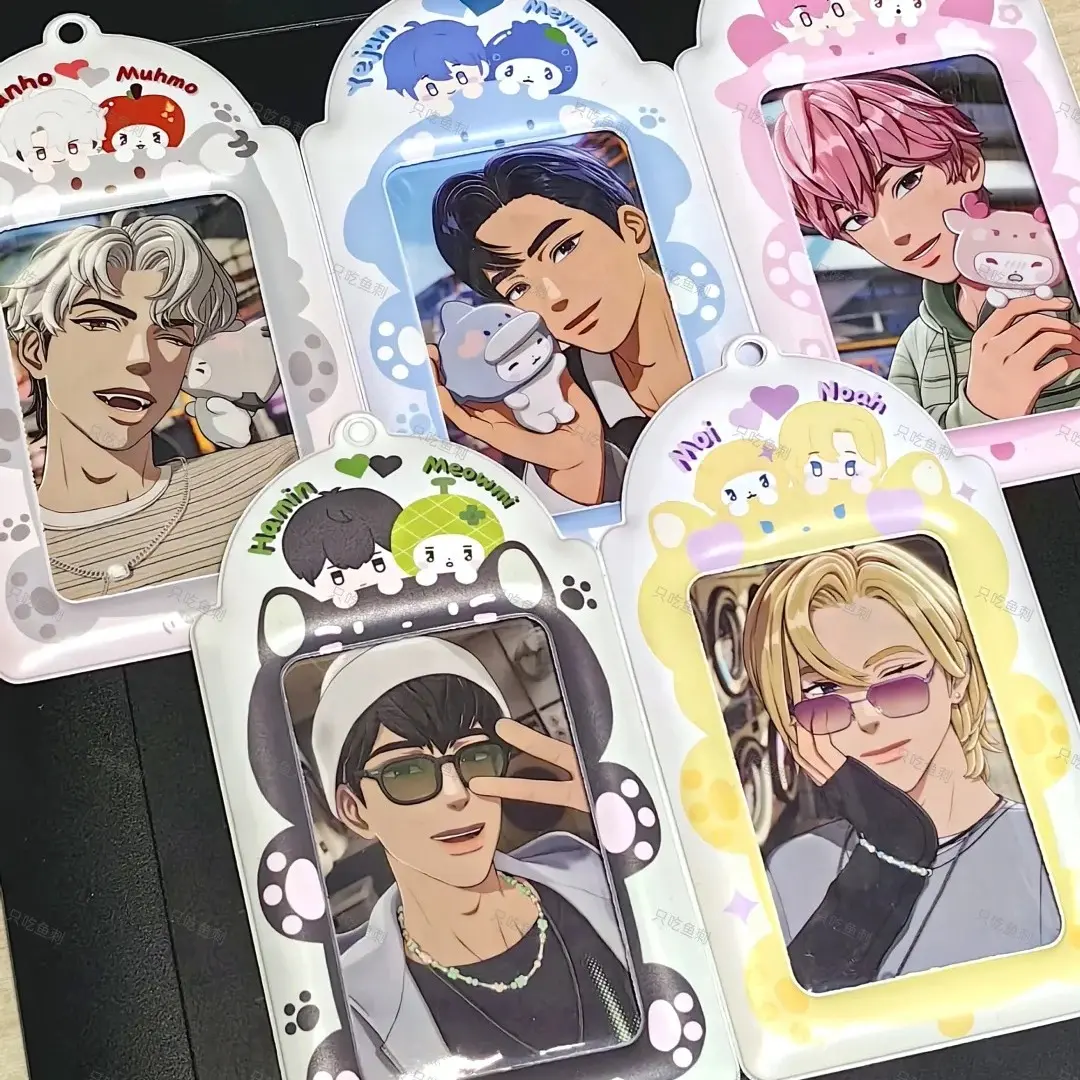
A photocard sleeve is not a flat print — it is a wearable display object. The ball-chain loop at the top means most buyers will hang it from a bag or lanyard, so the product lives in vertical orientation with the front face leading. The back panel is rarely seen once the sleeve is in use. That hierarchy should drive every composition decision: front artwork needs to read cleanly in a single glance, while the back can carry secondary information like your project name, social handle, or a supporting illustration.
The other structural reality: the finished product is a composite. A live photocard sits behind the transparent PVC front window, so your printed sleeve surround and the card art are visible simultaneously. When you mock up the design for your audience, show both layers together — the sleeve alone does not represent the final display.
Setting Up the Artwork
Popecho's onsite editor loads both canvas surfaces for this product. The front canvas is 108×150mm with a 78×140mm finished cut; the back canvas is 108×114mm with a 78×104mm finished cut. Both include a 15mm bleed on all sides — fill artwork to the full canvas edge so there is no white gap at the trim. The editor's double-view setup lets you switch between front and back without leaving the workspace, which keeps sizing and alignment honest across both surfaces.
Eight starting templates are available inside the editor if you want a pre-proportioned layout before placing your own assets. Safe-zone boundaries are visible inside the editor — keep all text, logos, and key character elements at least 3mm inside the finished cut line or they will be physically trimmed.
File requirements: PNG or JPG, RGB color mode, 300 DPI minimum, under 4 MB. Do not pre-crop artwork to the finished cut dimensions — submit the full bleed canvas. One non-negotiable: no white fill, no solid-color background, no auto-generated color block behind your art. The PU sleeve material is meant to show through. Adding any background layer produces a hard rectangle visible in the finished product.
Surface and Production Decisions
The four PU finishes behave differently in print, and the difference is not subtle at the lighter end of a color palette.
Gloss renders color closest to your on-screen RGB preview and is the safest starting point for designs with gradients or detailed painterly artwork. High saturation is accurate; fingerprints are visible in daily use.
Matte softens contrast slightly. Bold linework and high-contrast flat color hold well; gradient-heavy designs may look less punchy than expected.
Glitter and holographic star introduce a sparkle substrate that competes with the print layer. In any color area with less than roughly 20% density — pale tones, near-whites, light backgrounds — the glitter texture beneath pushes through and dominates. Design for these finishes with solid, saturated fills and avoid large pale zones. These two finishes carry a higher base price and reward artwork that was built around them rather than adapted from a gloss layout.
Color shift between screen and physical product is inherent to PU material printing regardless of finish. Pastels and near-whites are most affected. Submitting in RGB (never convert to CMYK before upload) keeps the color translation as predictable as the material allows.
What Trips Creators Up
Adding a background layer. The most common file error. A white or solid-color fill behind the artwork looks invisible on screen but prints as a hard rectangle on the finished sleeve. Use a transparent PNG and let the PU shell show through wherever it is meant to.
Placing text in the bleed zone. The 15mm bleed exists to give the die-cut a margin — it is not printable real estate for your design. Text or borders placed outside the 3mm safe-zone inset get physically trimmed. Check the safe-zone boundary in the editor before you finalize.
Choosing a sparkle finish for a pastel design. Glitter and holographic star finishes are visually active substrates. Light-value artwork submitted to these finishes loses legibility because the sparkle layer reads stronger than the print. Either deepen your colors or switch to gloss or matte.
Forgetting the composite display. The sleeve surround prints; the photocard inside does not. If you share a mockup showing only the printed back or only the card behind the window, the product looks incomplete. Build the composite — sleeve art plus card insert — before your audience sees it.