
Custom Tarot Card File Setup: Bleed, Orientation, and Lamination
Custom Tarot Card File Setup: Bleed, Orientation, and Lamination
The three decisions that determine whether your 70×120mm card prints correctly.
TL;DR
Custom tarot cards from Popecho are printed on 350gsm coated art paper at a finished 70×120mm, die-cut from a 76×126mm canvas with 3mm bleed on every side. The decisions that most affect the final result are canvas orientation before upload, bleed coverage, and lamination choice relative to your art style. Build both card faces inside Popecho's onsite editor — which handles front/back alignment natively — then confirm your lamination pick before submitting.
What This Subtype Actually Demands
A tarot card is not simply a small print — it is a double-sided object with a front face carrying character art and a back face carrying a card-back design, both of which must align to a precision die-cut at 70×120mm. The fixed portrait proportion is an asset: every card sleeve, tuck box, and fan spread on the market is already sized for it. But that same fixed proportion contains a trap. The production line prints portrait by default, which means a landscape-oriented artwork submitted without rotation will be cut correctly on one side and upside-down on the other. That is not a production defect — it is a file-submission error and falls outside after-sale coverage. Every file decision you make — bleed extension, orientation, safe-zone placement, and lamination — has a concrete consequence at the cut edge or under the press lamp.
Setting Up the Artwork
Set your front and back canvases to 76×126mm — the full print size including 3mm bleed on all four sides. The finished cut is 70×120mm, so the 3mm band around the perimeter is trim allowance, not decorative space. Extend your background art fully to every edge of the 76×126mm canvas; any gap inside the bleed zone prints as a white halo on the cut edge.
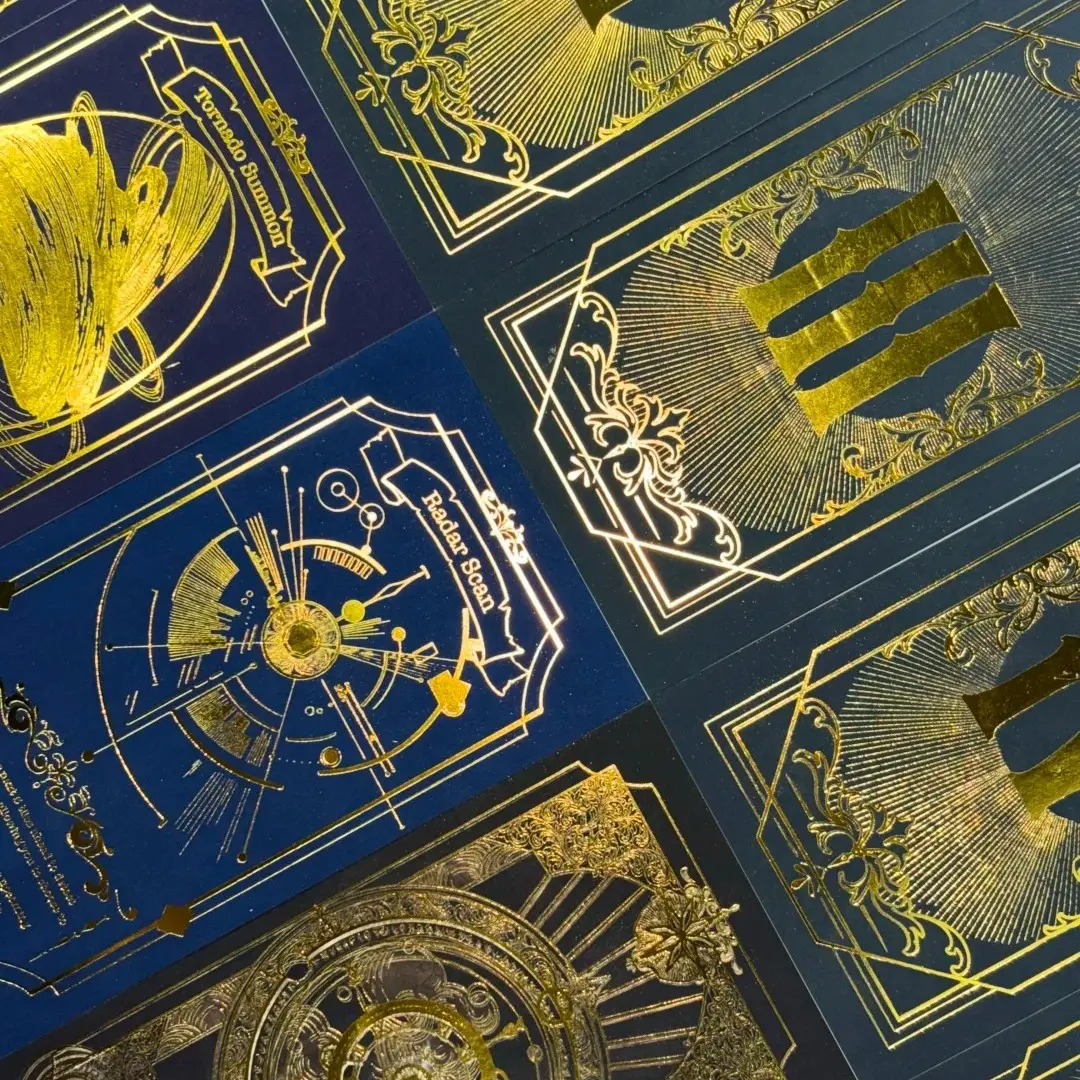
Popecho's onsite editor loads separate front and back surfaces for this product, letting you build and review both card faces in a single session without stitching canvases together yourself. The editor's safe zone sits 3mm in from every edge — keep all critical text, arcana numerals, title ribbons, and character faces inside that boundary. The source material for this product includes a layered template system: open the product in Popecho's editor and the card border, arcana numeral slot, and title ribbon snap into place as stacked layers, so you upload your character art as the background and add small decorative elements on top without redrawing the frame.
File requirements: 300 DPI minimum, RGB color mode only, PNG or JPG, at or under 3MB per upload. Do not submit CMYK — the Fuji 750s photo press cannot interpret CMYK dot patterns correctly and the resulting colour shift is not covered by after-sale policy.
Surface and Production Decisions
The 350gsm coated art stock has a slight base sheen even unlaminated. Each lamination option steers the tactile and visual result in a different direction, so the choice should match your art style rather than default to whatever is most familiar.
Gloss lamination amplifies specular reflection and saturates colour — well-suited to high-contrast idol imagery or vivid digital illustration. Matte and soft-touch diffuse glare and suit hand-drawn line art, watercolour-style work, or any art where readability of fine strokes matters more than colour punch. Soft-touch adds a velvety feel and a minor cost premium; it also hides micro-scratches that are unavoidable on gloss-card variants over handling time — a practical choice for cards that will be handled frequently.
**Glitter star ** lamination produces strong sparkle across the surface. Test your artwork carefully before committing: holographic interference on dark backgrounds can obscure fine linework, and on shadow-heavy compositions the sparkle competes with the art rather than complementing it.
Texture emboss options — leather and cross-hatch — are post-lamination press steps that add tactile relief to the card surface. Confirm the combination inside Popecho's editor before ordering; glitter lamination paired with emboss may conflict depending on the finish sequence.
Popecho produces tarot cards in approximately 10 days. MOQ is 20 units per design.
What Trips Creators Up
Landscape artwork submitted without rotation. The production line prints portrait by default. A sideways card submitted as-is will be cut correctly on one face and inverted on the other. Rotate your landscape composition 90° inside Popecho's editor before submitting — the editor's double-view surface makes the orientation mismatch visible before it reaches the press.
CMYK files instead of RGB. The Fuji 750s is a digital photo press, not an offset press. CMYK causes unpredictable colour shift and the result is not eligible for replacement. Check the colour mode in your export settings every time, not just on the first file.
Character faces too small to reproduce clearly. Faces or key characters occupying less than one-third of the card canvas area will not resolve well at press. Upscale or recompose the artwork before uploading — low-resolution or undersized key elements are not covered by quality after-sale policy.
White gaps inside the bleed zone. A background that stops at the finished cut line rather than extending to the full 76×126mm canvas edge will print with a white sliver at one or more edges after trimming. Fill the bleed band with your background colour or pattern before upload.