
Custom Mouse Pad File Setup: Bleed, Safe Zone, and Color Mode
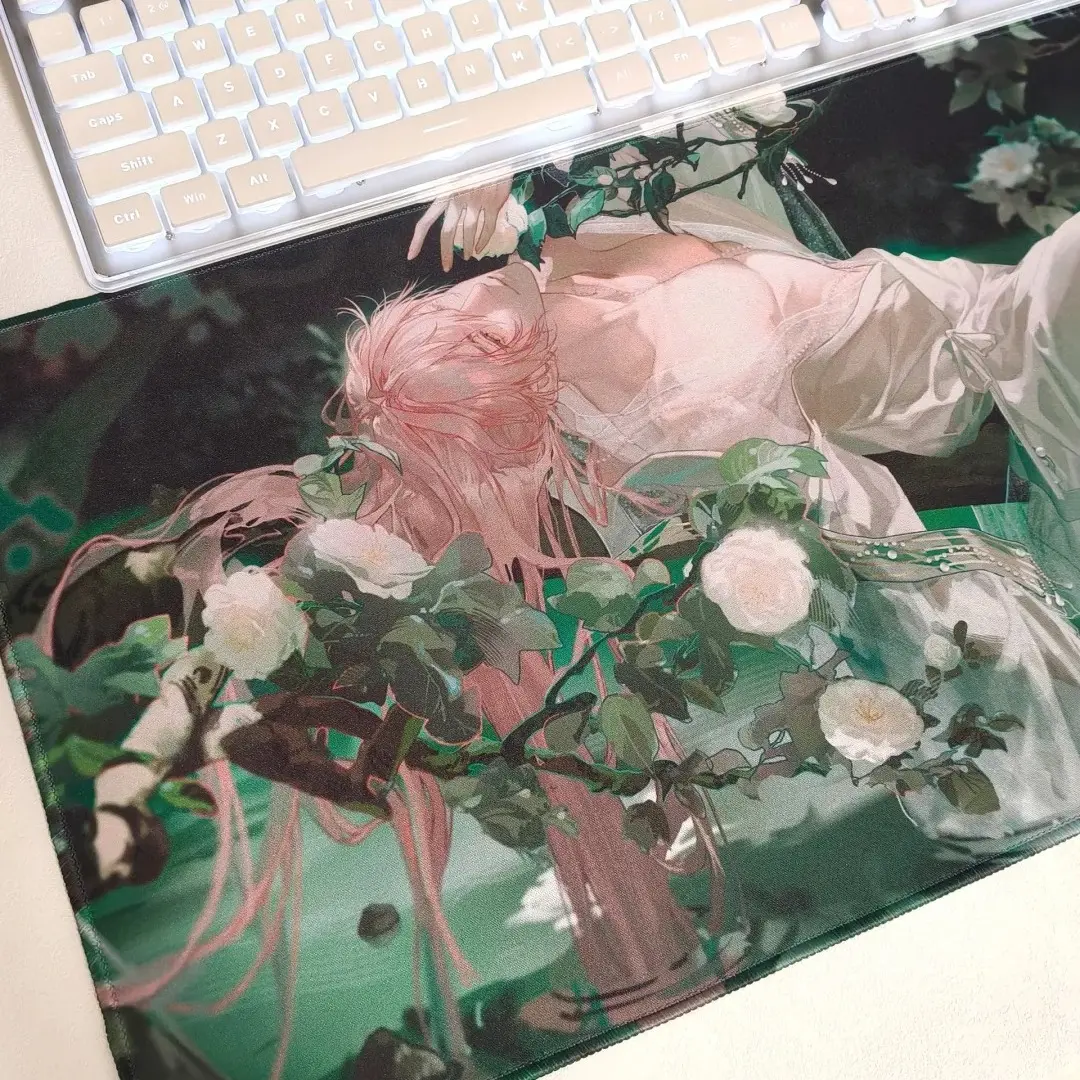
Custom Mouse Pad File Setup: Bleed, Safe Zone, and Color Mode
Why your canvas size, bleed extension, and RGB color mode decide the final print result.
TL;DR
A custom mouse pad from Popecho prints at 240×200mm via dye sublimation on woven cloth, with a rubber base and stitched edge. The production decisions that matter most are canvas sizing to 265×225mm, extending your background fully into the 12.5mm bleed zone, keeping critical elements inside the 15.5mm safe boundary, and submitting artwork in RGB — not CMYK. Open the product in Popecho's onsite editor and every one of those boundaries appears as a live overlay before you export.
What This Subtype Actually Demands
A rectangular flat-format pad sounds like the simplest possible print job — no die-cut outline to trace, no contour safe zone to negotiate, no shaped edge to worry about. That simplicity is real, but it shifts all the risk to two places: the bleed boundary and color mode. Because the trim is a clean straight cut at 240×200mm, any artwork that stops short of the bleed zone will leave a white or color-blocked strip at the finished edge. And because dye sublimation on woven cloth is an RGB-native process, a CMYK file will shift noticeably in saturation and hue on the physical surface — not a print defect, just a process mismatch that the creator controls entirely at the file stage.
The 240×200mm footprint (roughly A5 landscape) makes this a cost-accessible format for desk setups, artist alley table displays, and small-run Kickstarter reward tiers. MOQ is 1 unit, so every order is simultaneously a sample run at full production quality.
Setting Up the Artwork
Set your document canvas to 265×225mm before placing any artwork. The finished cut is 240×200mm — that 12.5mm difference on each side is the bleed zone, and your background must fill it completely. A hard color stop or white border at the image edge will survive trimming as a visible stripe.
Open the product in Popecho's onsite editor and the cut line, bleed boundary, and safe-zone overlay all appear as live guides on your canvas. The red diagonal line marks the 12.5mm bleed zone on every side; the safe-zone boundary sits 3mm inside that line, meaning 15.5mm from the raw canvas edge. Keep all text, faces, and key artwork elements inside that inner boundary — the stitched edge binding consumes a small amount of the perimeter, and anything close to the bleed line has a real chance of being physically clipped.
Export at 300 dpi, RGB color mode, as PNG or JPG under 3MB. Low-resolution or heavily over-exposed source photos will reproduce faithfully on the cloth surface — which means every flaw travels through to the finished pad. If your source image is soft or low-quality, run it through an image-enhancement tool (Meitu Xiuxiu's 画质修复 works well for fan-art photos) before uploading.
Surface and Production Decisions
Dye sublimation saturates the woven cloth surface with ink at the fiber level, which gives the print excellent durability and smooth mouse tracking. The trade-off is that the process is RGB-native: submitting a CMYK file produces visible saturation shift and color deviation on the finished product. Convert all files to RGB before upload — if Popecho's cart preview shows a color change after submission, that is the system flagging a color-mode mismatch, not a rendering error to dismiss.
Very light tints (color value below roughly 20%) and neon or fluorescent colors sit outside the reproducible gamut for this process. Expect slight saturation increase on near-white tones; design around it rather than fighting it.
New pads may carry a mild rubber odor from sealed packaging during shipping — this is a normal characteristic of the rubber base, not a production defect. Ventilate the pad for about two days after receipt. If you are bundling pads as merchandise for buyers, mention this proactively in your product notes to prevent confusion.
Popecho produces in approximately 10 days from confirmed artwork.
What Trips Creators Up
Background stops short of the bleed zone. The finished cut is 240×200mm but the canvas must be 265×225mm. Designers who build at the finished size and forget to extend the background end up with a white or color-blocked edge strip on the physical pad. Fill the full 265×225mm canvas.
CMYK file submitted as-is. The dye-sublimation process cannot interpret CMYK values the way an RGB pipeline does. The result is a noticeably oversaturated or color-shifted print. Convert to RGB in your editing software before exporting — check the Popecho editor preview; a color change in the preview after upload is your cue.
Text placed too close to the trim edge. The overlock stitching and trim together consume more perimeter than creators expect. The 15.5mm safe-zone boundary inside the editor exists for this reason — treat it as a hard limit, not a suggestion, especially for any text that needs to be fully legible.
Low-resolution source art uploaded without cleanup. The cloth surface reproduces what it receives. A blurry fan photo looks blurry on the finished pad. Upscale or enhance your source image before upload rather than hoping production will compensate.