Lenticular Photocard File Setup: Two Images, One Card
Lenticular Photocard File Setup: Two Images, One Card
How orientation, color mode, and image contrast decide whether the morph effect actually works.
TL;DR
A lenticular photocard is a standard 86×54mm card built on 75-line lenticular lens material that depth-composites two separate images into a single morphing card. The production decision that matters most is choosing two source images with strong color contrast and submitting them in portrait orientation as RGB files — get either of those wrong and the effect either vanishes or can't be corrected after production. Open the product in Popecho's onsite editor to confirm your bleed boundary and safe zones before you place the order.
What This Subtype Actually Demands
A lenticular photocard is not a double-sided card. That distinction matters more than it sounds. Where a standard photocard gives you a front surface and a back surface that are printed and finished independently, a lenticular card takes two completely separate source images and depth-composites them into a single lens layer during production. You can't correct orientation, swap images, or re-composite after the job runs — the 75-line inkjet engraving process locks both images into the card at once.
The 75-line lenticular substrate also constrains the form: this card ships as a standard 86×54mm rectangle only. The ribbed lens geometry can't be die-cut into custom silhouettes without destroying the optical alignment, so the CR80-adjacent rectangle is the only shape available. Every other decision — image pair, orientation, color strategy — flows from that fixed physical reality.
Setting Up the Artwork
Set your document canvas to 89×57mm. That gives you the 1.5mm bleed on all four sides the production process requires. The card trims to 86×54mm, so nothing critical — faces, text, logo marks — should sit inside the outer 1.5mm margin on either image.
Because this product uses a double-view upload flow, Popecho's onsite editor presents two separate upload surfaces: Image 1 and Image 2. These are not front and back in the traditional sense — they are the two poles of your morph pair. Treat them as the "starting frame" and "ending frame" of the angle-shift animation. Inside the editor, the safe-zone overlay and bleed boundary load automatically for each surface, so you can confirm critical elements are clear of the cut edge before submitting.
Submit both files as PNG or JPG, each under 2MB, in RGB color mode. Do not convert to CMYK before uploading. Popecho's production pipeline handles the RGB-to-CMYK conversion internally; a pre-converted CMYK file will arrive with unexpected color banding that isn't recoverable.
Orientation is set at upload time. Portrait (vertical, face upward) produces the intended top-to-bottom morph. Landscape produces a left-to-right flip. Choose before you export — this can't be changed after production begins.
Surface and Production Decisions
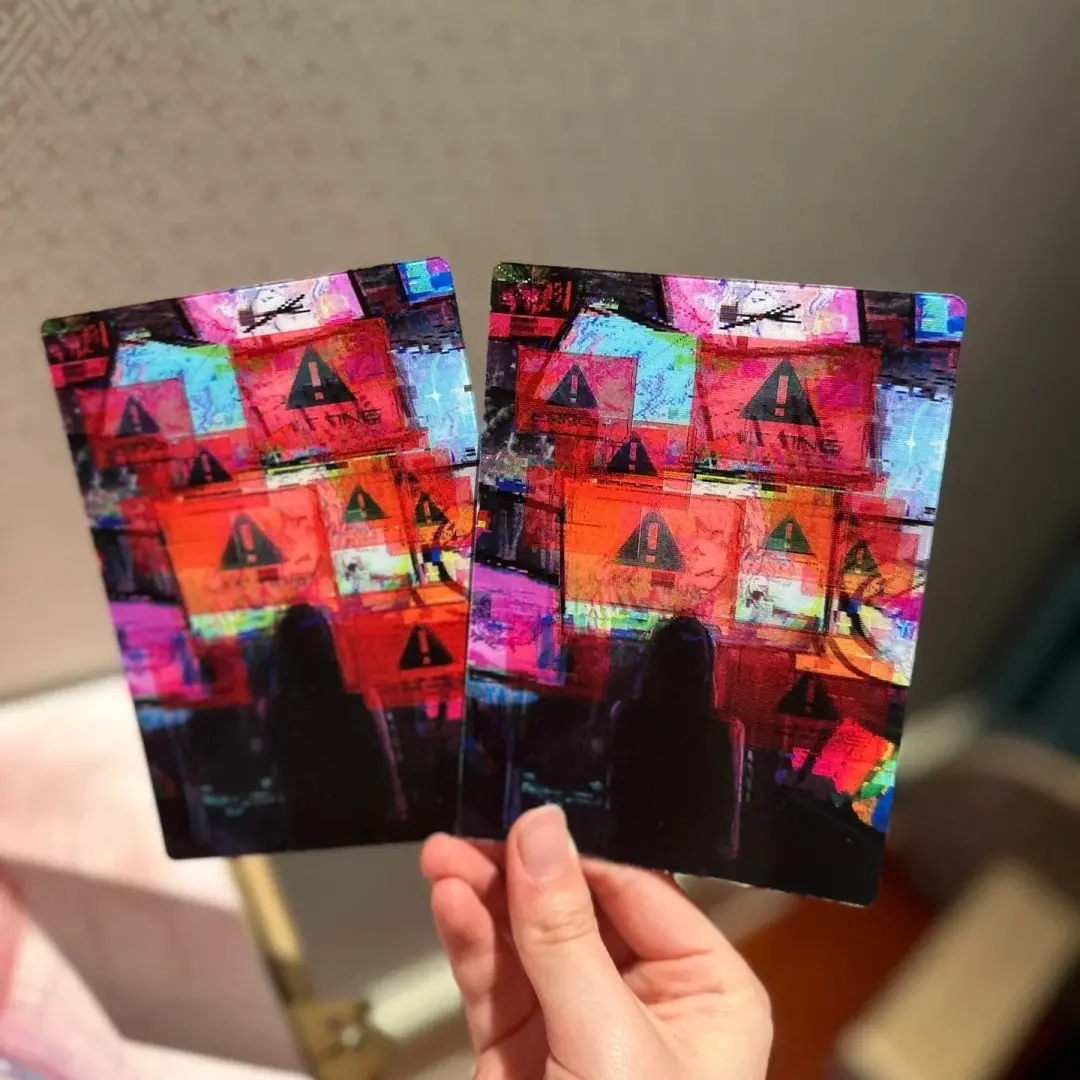
The 75-line pitch is well-suited to richly colored portrait photography. It is poorly suited to flat-color illustrations, images with white or light backgrounds, or pairs where both images share a similar color palette. In those cases the morph effect becomes weak or nearly invisible on the finished card — the lens has too little color information to produce visible depth separation.
The practical rule: the more color contrast between your two images, the stronger and cleaner the morph reads. Two images where one is warm-toned and one is cool-toned will produce a noticeably sharper transition than two images that share the same dominant hue.
The lenticular lens surface also has two inherent material properties to communicate to anyone handling the finished cards. Under certain light angles, minor reflective striping is visible — this is a physical property of the ribbed lens, not a print defect. Minor surface micro-scratches can also appear; the material is not as scratch-resistant as hard PVC laminate. Both are normal and are not covered under quality claims, so set expectations with your audience before they open the package.
Color shift between your screen preview and the physical card is also expected. Screens emit RGB light; lenticular print is CMYK subtractive. The 2D or 3D render in the editor is an approximation. Order a 5-unit sample run — the MOQ is 5 pieces — before committing to a large batch.
What Trips Creators Up
Uploading landscape images for a portrait effect. The lenticular lens is calibrated for top-to-bottom viewing. Landscape images produce a left-right flip and cannot be corrected after production. Export both images in portrait orientation before you open the editor.
White or light backgrounds on either image. Light-background images give the lens very little color information to encode. The finished card shows the lenticular stripes clearly but the morph effect is barely visible. Use richly saturated backgrounds on both images.
Submitting CMYK files expecting accurate color. CMYK pre-conversion causes banding and unexpected color shifts in production. Submit RGB. Popecho's pipeline converts at production time.
Treating the two upload slots like front and back. Image 1 and Image 2 are both printed onto the same card face through the depth-compositing process — they are your morph pair, not two independent surfaces. Confirm both images are export-ready and form a coherent pair before placing the order.