
Large Poster Print File Setup: Bleed, Safe Zone, and Finish
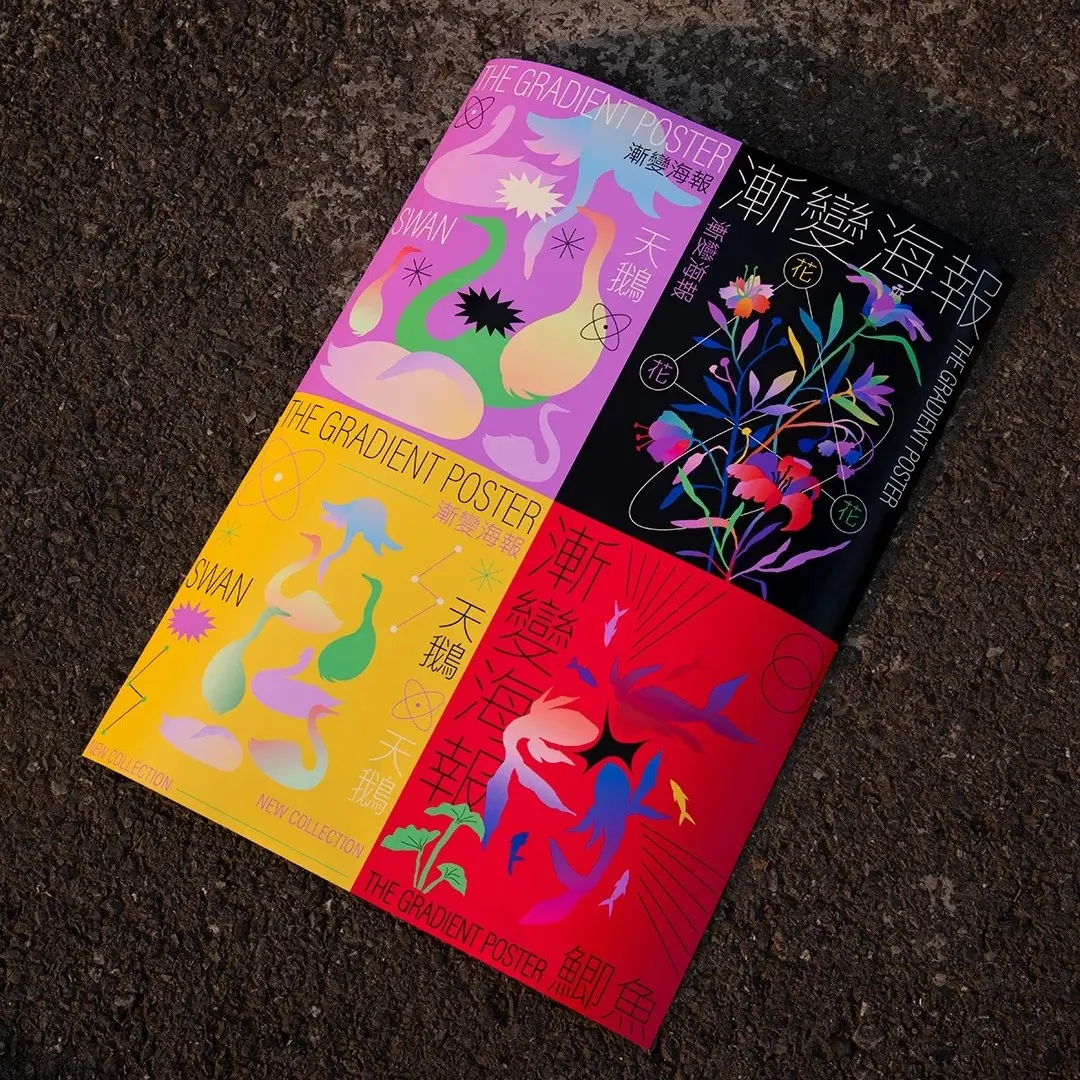
Large Poster Print File Setup: Bleed, Safe Zone, and Finish
How to build the 356×506mm canvas so nothing critical gets cut at the 350×500mm trim.
TL;DR
A 350×500mm large poster print on 200g coated art paper is a display-scale piece, not a small collectible — which means bleed handling and element placement carry real visual consequences at this size. The most important decision is whether to add gloss laminate before you lock the order, since it affects both surface handling and marker adhesion. Open the product in Popecho's onsite editor to confirm your safe-zone placement before submitting the file.
What This Subtype Actually Demands
A 350×500mm poster is a display artifact. Viewers see it at arm's length, pinned to a wall or propped on a table — which means every composition choice reads at full scale, and any bleed or crop error is immediately visible. This is not a small collectible where a 1mm trim variance disappears in hand. The format demands that background art runs edge to edge on the canvas, that text stays well inside the trim boundary, and that finish is chosen deliberately before production begins. Single-sided print only, so there is no back surface to fall back on — the front has to carry the full design intention. The 200g coated stock is semi-rigid enough to roll for tube shipping without cracking, but it is not a rigid board; plan the composition for a flat-displayed piece.
Setting Up the Artwork
The working canvas is 356×506mm — that is the 350×500mm finished cut plus 3mm of bleed on all four sides. Set your document to exactly this size at 300 DPI in RGB color mode before placing any artwork. When you open this poster variant in Popecho's onsite editor, the trim boundary and safe-zone overlay load automatically, so you can see exactly where the cut will fall and where your protected inner zone begins without building those guides by hand.
The safe zone sits 3mm inside the trim line — meaning critical text, character faces, and key design elements should stay at least 6mm in from the canvas edge. At poster scale, this margin looks generous on screen but can vanish quickly if you nudge a headline close to the edge. Extend all background color, gradients, and texture layers fully to the red bleed line; any gap at the edge will show as a white strip on the finished poster. Keep individual file uploads under 10MB; PNG or JPG are the accepted formats.
(One practical step: confirm the element placement inside the editor before exporting your final file — it is much easier to catch a stray text box than to spot it after the order is in production.)
Surface and Production Decisions
Printing runs on an HP Indigo 15K, a four-color digital press with a wide color gamut and low color deviation. The output is sharp and moiré-free, which suits illustration work, photography, and flat graphic design equally well. Submit your file in RGB — the press workflow is optimized for RGB input, and CMYK files will trigger automatic saturation adjustment that shifts your intended color balance in ways that are difficult to predict.
Very light tones below roughly 20% value and highly saturated neon colors sit at the edges of what any CMYK output process can faithfully reproduce; if your design depends on either extreme, a physical proof run is worth the MOQ of 4 units.
The finish decision is the other major production choice. No laminate leaves the coated paper surface natural: slightly matte, fingerprint-visible, and marker-receptive — a good call if the poster is intended for autograph use or an event where guests will sign it. Gloss laminate deepens apparent saturation, adds a wipe-clean surface, and gives the poster better handling resistance for display or retail use. Laminate does not change the trim dimensions. Popecho's production lead time for this product is 11 days, so factor that into any event or drop deadline.
What Trips Creators Up
Submitting a CMYK file. The press is calibrated for RGB input. A CMYK upload triggers automatic saturation correction, and the result rarely matches the original intent. Convert to RGB in your image editor before exporting.
Under-extending the background. If a background color or gradient stops at the trim line rather than the bleed line, the cut tolerance leaves a visible white edge on the finished poster. Extend every background element to the outer 356×506mm canvas boundary.
Key elements too close to the edge. At 350×500mm, a headline placed 2mm inside the trim looks safe on screen but can clip in production. Use the safe-zone overlay in Popecho's editor as the actual boundary, not an approximation.
Choosing finish after designing for the other one. A design built around subtle paper texture reads differently under gloss laminate, and a design intended for autograph use becomes difficult to sign once laminated. Decide the finish before finalizing the composition, not after.