
Custom Notebook Cover File Setup: Binding Variant First
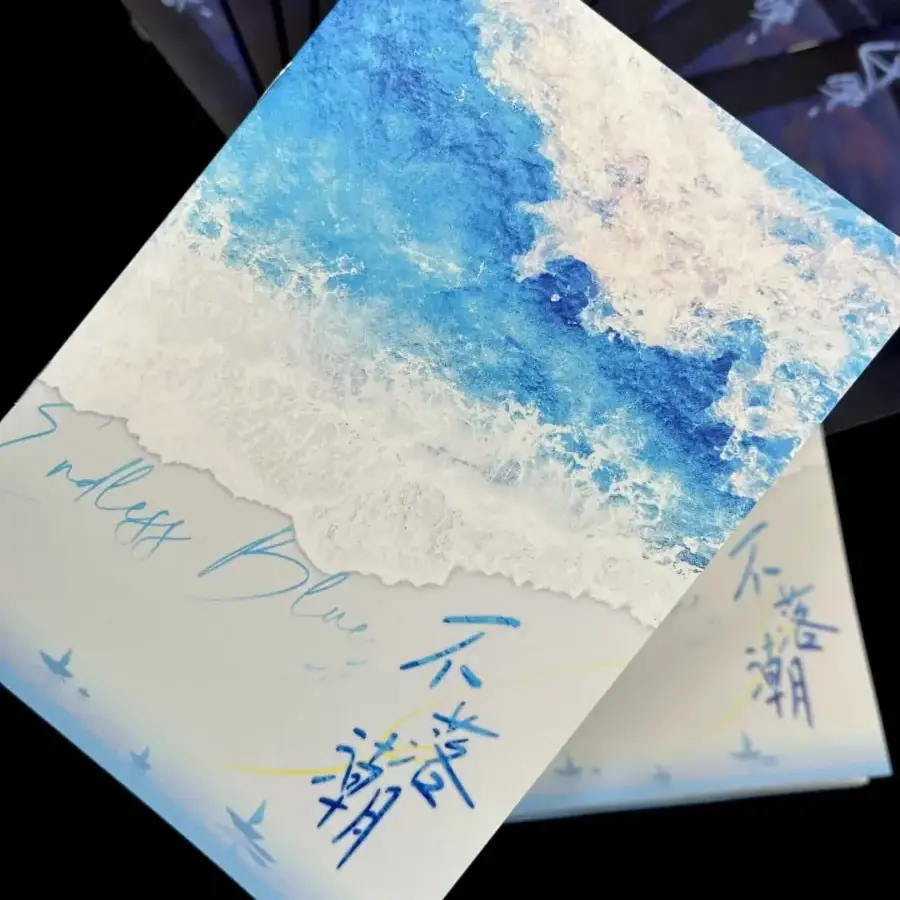
Custom Notebook Cover File Setup: Binding Variant First
Why selecting saddle-stitch or ring binder before uploading art saves your layout every time.
TL;DR
Popecho's custom notebook prints a full-bleed cover on a 132.5×185mm A5-ish body in either saddle-stitch matte or loose-leaf ring binder — MOQ is 1 unit and production takes 10 days. The single decision that protects your layout is choosing your binding variant inside Popecho's editor before placing any art: each variant loads a different canvas with its own bleed boundaries and safe-zone margins. Set your spread canvas to 276×165mm at 300 DPI, keep key art 5mm inside the trim, and you're ready to submit.
What This Subtype Actually Demands
A custom notebook cover is a full-spread print job compressed into a small, handled object. At 132.5×185mm closed, every millimetre of crop placement is felt — literally, in the hands of whoever carries it. The concept here is what the listing calls an 另类痛本: a study companion where your cover art functions as a portable shrine to your oshi or OC. That use case changes what matters in the file. Text callouts, character faces, and any date or slogan meant to be read in a bag or across a desk all need to land cleanly within the finished print area — not bleed into the trim or disappear behind a ring.
The two binding options are not cosmetic swaps. Saddle-stitch uses a matte laminated cover and lies flat when opened. Loose-leaf ring binder adds physical hardware along the spine edge that occupies real space near the punch-hole margin. Each variant has its own canvas proportions, and the production path diverges at the point of selection.
Setting Up the Artwork
Open the product in Popecho's onsite editor and select your binding variant before touching any artwork. The editor loads the correct canvas — 276×165mm full spread including bleed — with the bleed boundary and safe-zone overlay already positioned for whichever binding you chose. This is the step most creators skip, and it's why spreads built outside the editor sometimes arrive with the wrong proportions.
Once your variant is selected, the finished cover print area is approximately 265×155mm inside that spread. Extend all background art 5mm beyond the finished cut line on every edge to satisfy the bleed. Keep all critical text, character faces, and legible slogans at least 5mm inside the finished cut line — the safe-zone overlay in the editor snaps this boundary into view automatically.
For the ring-binder variant specifically, use a neutral or bleedable background behind the spine/punch-hole margin. Detailed art or tight typography placed there risks being obscured by the ring hardware in the finished product. Upload PNG, JPG, or PSD at 300 DPI. Popecho's editor currently includes one template in the catalog for each binding configuration — starting from that template gives you a correctly proportioned base layer before you drop in your own artwork.
Surface and Production Decisions
Saddle-stitch notebooks ship with a matte laminate cover finish. Matte laminate absorbs light rather than reflecting it — which is exactly why dense illustration reads cleanly without glare at classroom distances. The tradeoff is colour: matte laminate slightly mutes saturation, and deep, vivid hues can shift toward a greyed-out tone in the finished product. The practical fix is to boost saturation in your artwork file before submission, then preview the cover at reduced saturation on-screen to simulate what the laminate will do. Pastels and light-coloured art tend to survive the laminate cleanly; very dark solid fills are the ones most likely to look flat.
Loose-leaf ring binder notebooks use a standard (non-matte) cover. The ring hardware adds a few millimetres to the closed width and sits on the spine edge, so it is visible in the finished object. Artwork that wraps all the way to the punch-hole margin will be partially obscured — design the ring-binder cover with that physical reality built in from the start.
Interior pages are standard lined or blank notebook paper and are not custom-printed in the base product. All personalisation energy belongs on the cover spread file.
Popecho produces these notebooks in 10 days. MOQ is 1 unit, so ordering one copy per design to proof the cover before a larger run costs only the single-unit price.
What Trips Creators Up
Wrong variant selected before upload. The saddle-stitch and loose-leaf canvases have different proportions. Art built for one will misalign on the other. Select your binding variant first inside Popecho's editor — the correct canvas loads automatically and prevents the mismatch.
Low-resolution source art. A 132.5×185mm cover at 300 DPI demands real pixel density. Fan photos or illustration exports saved at screen resolution (72–96 DPI) will print blurry. Check your file's DPI at the actual print dimensions — not the pixel count alone — before uploading.
Text and faces too close to the trim edge. The safe-zone overlay in Popecho's editor shows the 5mm inset margin. Any character face or readable text outside that boundary risks being clipped in the trim or hidden under the ring hardware on the binder variant.
Ignoring the matte saturation shift. Submitting artwork without adjusting for the matte laminate finish is the most common reason covers look duller than expected. Simulate the finish by previewing your design at reduced saturation before you finalise the file.