
Custom Bandage Phone Stand: Orientation Comes First
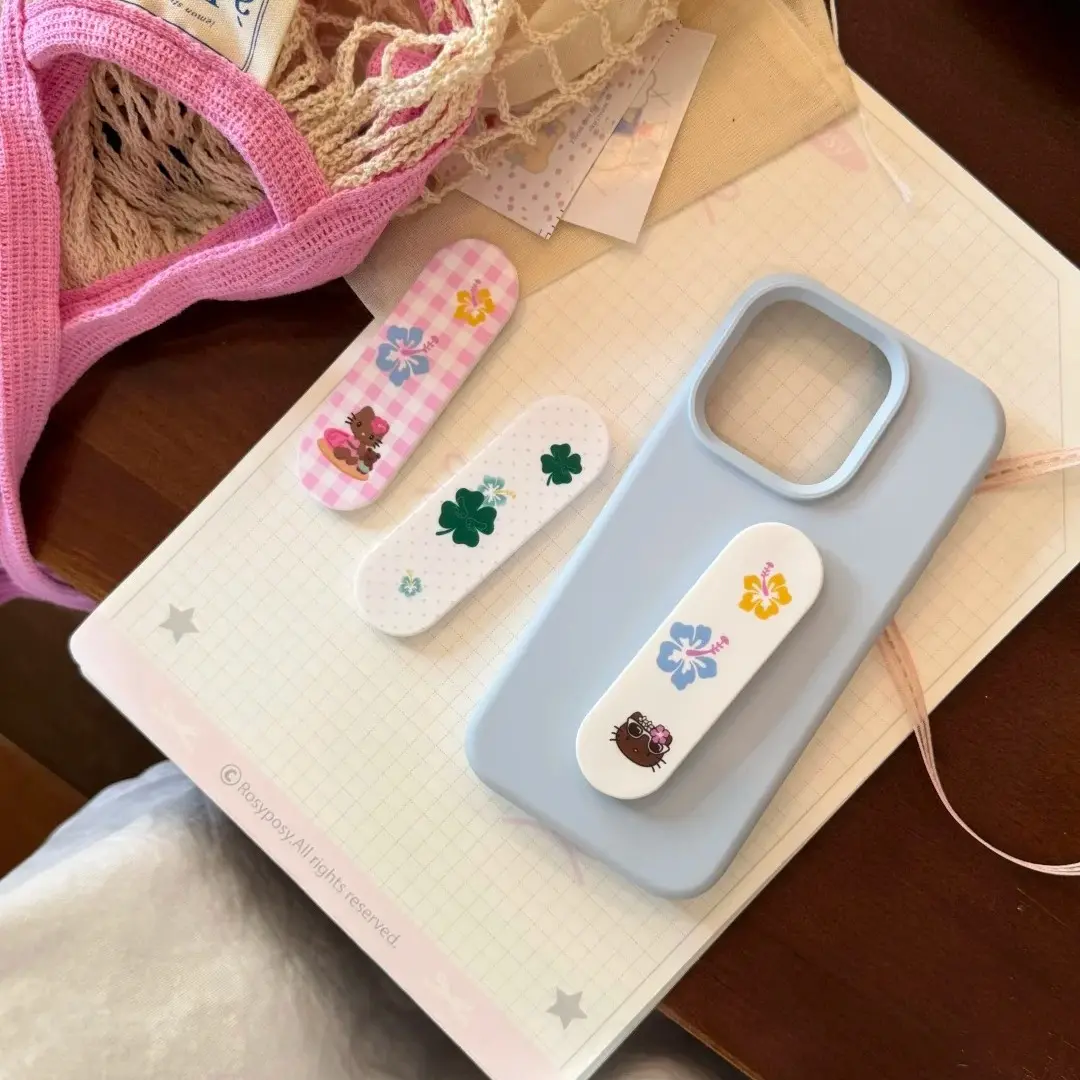
Custom Bandage Phone Stand: Orientation Comes First
Pick landscape or portrait before you design — swapping later means starting a new order file.
TL;DR
A custom bandage phone stand is a novelty-meets-functional piece: your artwork prints on the central pad of a bandage-shaped adhesive stand that props your phone at a natural viewing angle. The single most critical decision is orientation — landscape or portrait — because Popecho's onsite editor loads a different die-cut outline and safe-zone overlay depending on which you select, and that choice locks your artwork's aspect ratio. Open the editor, pick your orientation, then design inside the safe zone. MOQ is 1, so a single proof is always a real first step.
What This Subtype Actually Demands
The bandage phone stand sits at an unusual intersection: it is both a collectible novelty and a working desk accessory. That dual role changes how you frame your artwork. A character portrait that looks great as a flat sticker also needs to read clearly when the stand is propped under a phone at an angle — so bold, icon-style compositions outperform dense scene art at this scale.
The other structural reality is the bandage shape itself. The central pad zone is where your custom artwork lives. The wing strips on either side — the mesh or gauze-texture areas — are part of the base mold and are not reliable print surfaces. Anything critical to your design needs to sit inside that central pad, not bleed outward into the wings. The subtype is forgiving in one way: MOQ is 1, which means a single-unit proof is always the lowest-risk first step before committing to a larger run.
Setting Up the Artwork
Orientation is the first decision to make before you open your design application. Popecho's onsite editor loads two separate configurations for this product — one for landscape and one for portrait. When you select your variant, the editor loads the matching bandage die-cut outline and safe-zone overlay automatically. Those boundaries define your actual print area, so locking orientation first prevents you from building a composition at the wrong aspect ratio.
Portrait orientation suits vertical character art naturally — idol portraits, VTuber bust shots, single-figure illustrations. Landscape suits horizontal compositions — group shots, game key art, wide scene crops. Match the orientation to the natural shape of your artwork, not the other way around.
Once you are inside the editor with the correct variant open, keep all meaningful artwork — faces, logos, text, key details — well within the safe zone. The safe-zone boundary in the editor is your actual trim guide. Anything outside it is at risk of being clipped at the die-cut line. Fine linework below roughly 0.3 mm may also lose definition at production size, so prefer bold outlines and high-contrast fills for the central pad area.
Surface and Production Decisions
The bandage stand substrate is a flat, flexible material — likely PVC or a similar resin — with an adhesive base. This substrate rewards artwork that has strong tonal contrast and clean edges. Gradients can work, but very subtle tonal shifts may flatten at production size on a surface this small. Artwork that reads well as a thumbnail is a useful mental test before you finalize your file.
The adhesive base is worth considering from a product-copy perspective as well: if the stand is repositionable — which is common for this category — that reusability is a genuine selling point for buyers who move between desks or devices.
Color accuracy matters here in the same way it does for any custom-printed accessory. Work in RGB for screen review, but keep in mind that print output may shift warm or cool depending on color density. Saturated, flat colors with clear boundaries tend to hold their accuracy better than photos with complex mixed tones.
Popecho's production lead time for this product is 15 days. Price breaks apply at 10 and 20 units; orders of 500 or more can be routed through Popecho's batch custom channel. Because lead time is fixed at 15 days regardless of quantity in standard runs, ordering your proof unit early is the lowest-friction way to confirm color and scale before a larger commit.
What Trips Creators Up
Picking orientation arbitrarily. Creators sometimes select landscape or portrait at random and then discover their artwork doesn't fit the loaded safe zone. Choose orientation to match your artwork's natural composition — vertical character art goes portrait, wide scene art goes landscape — and lock that decision before building the canvas.
Designing into the wing areas. The bandage wings look like printable space in mockup previews, but they are part of the base mold. Art elements placed outside the central pad safe zone risk being clipped or lost entirely. Let Popecho's editor safe-zone overlay be your boundary, not the overall silhouette of the bandage shape.
Using fine linework at small scale. Detailed outlines below roughly 0.3 mm tend to bleed or disappear on a small adhesive substrate. Simplify linework, increase stroke weights, and test your artwork as a thumbnail before finalizing.
Skipping the proof unit. Because MOQ is 1, there is no cost barrier to ordering a single proof. Creators who skip this step and go straight to a 20-unit run occasionally find a color or crop surprise that a ¥10 proof would have caught first.