
Custom Paper Bag File Setup: Flat Wrap to 3D Form
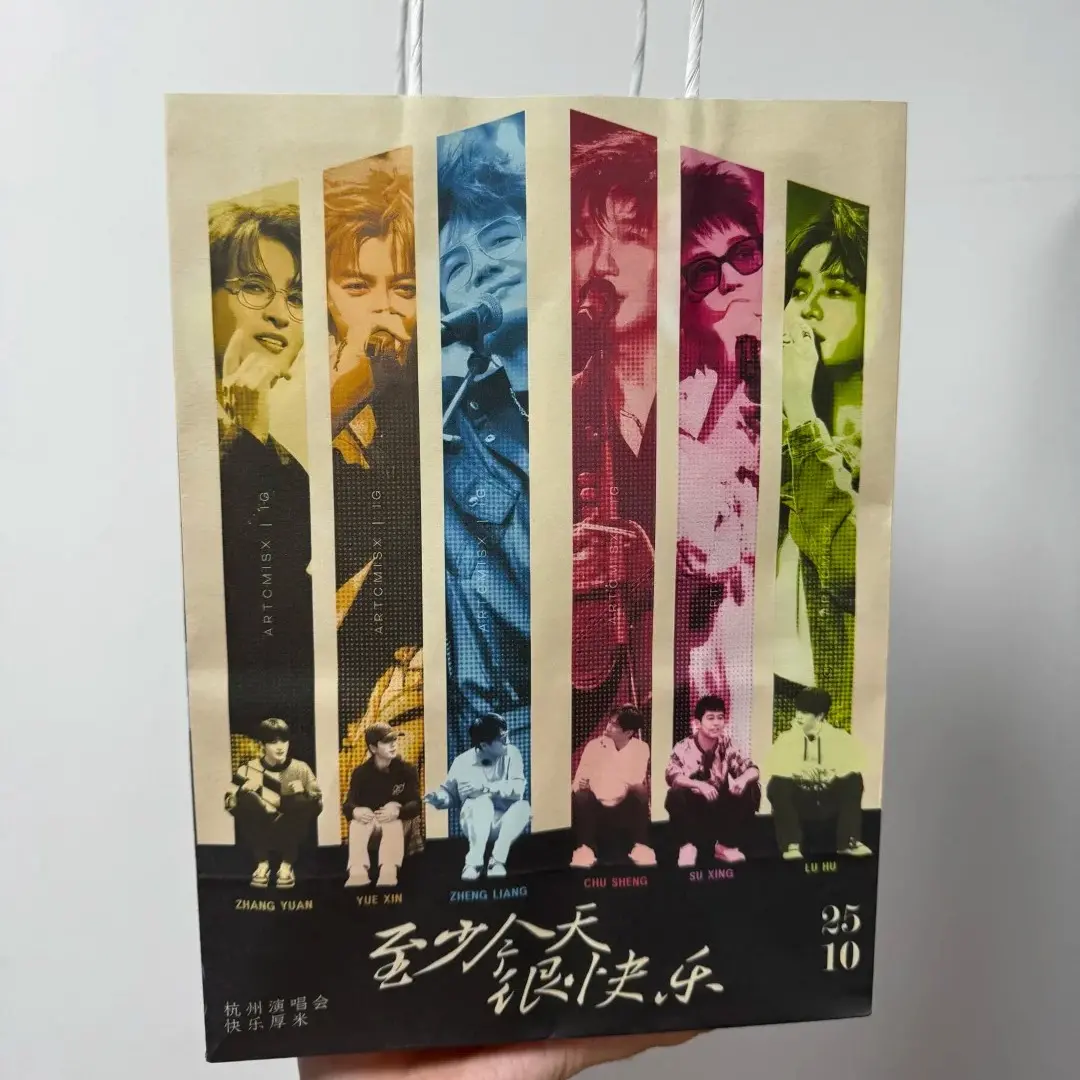
Custom Paper Bag File Setup: Flat Wrap to 3D Form
How the 281×651 mm canvas folds into your finished bag — and where designs go wrong.
TL;DR
A custom paper bag from Popecho is a 200×110×270 mm kraft carrier printed full-color via 4-color offset on 120g white stock, with a pre-attached twisted-rope handle. The critical design challenge is that your artwork lives on a flat 281×651 mm canvas that folds into a 3D bag — the right-side gusset (27.5 mm) and bottom fold zone (6 mm) are structural, not display areas. Open the product in Popecho's onsite editor, confirm your panel boundaries before you finalize, and convert to RGB before uploading.
What This Subtype Actually Demands
Most print merch lives on a single flat surface. A paper bag does not. Your 281×651 mm upload is a flat net that Popecho folds, scores, and constructs into a finished 200×110×270 mm carrier — and that folding process has hard consequences for where your artwork can actually live. The right-side edge carries a 27.5 mm gusset/fold-over zone that disappears into the bag's structure; the bottom carries a 6 mm hidden fold. Neither zone is a display surface. Characters, logos, and text panels positioned there will vanish on the finished bag. Beyond geometry, the uncoated 120g white kraft surface is a genuinely accurate print base for 4-color offset — but it is not a monitor. Slight variance between what you approved on screen and what prints is normal for this substrate, and creators who expect pixel-exact fidelity should plan a proof run first.
Setting Up the Artwork
Open the product in Popecho's onsite editor and the fold lines, bleed boundaries, and safe-zone overlay load automatically for this variant — you do not need to reconstruct the canvas geometry manually. The bleed margins are asymmetric: 3 mm on the top and left edges, 6 mm on the bottom, and 27.5 mm on the right. That right-side value is not a typo; it is the full gusset allowance. Extend your background color all the way to each bleed boundary, but keep every piece of meaningful content — character faces, event text, QR codes — at least 6 mm inside every finished edge. The editor's app background renders as a transparent blue tint during editing; do not sample that color or treat it as part of your design. File requirements are 300 dpi minimum, PNG or JPG, 20 MB maximum, and RGB color mode. CMYK files must be converted to RGB before upload — the editor flags this, but the conversion needs to happen in your source file, not just on upload.
Surface and Production Decisions
The 4-color offset process on 120g white kraft delivers clean, retail-weight color reproduction across the full exterior — front, back, and side panels all print in the same pass. What the process does not handle cleanly is color at the extremes: neon and fluorescent values fall outside the guaranteed gamut for offset on this substrate, and very pale tints (eyedropper readings below roughly 20% in any channel) will compress and shift. If your design depends on either end of that spectrum, place a proof order before committing to the 100-unit MOQ. The white base stock means there is no pre-white-ink layer needed for general artwork — the paper itself is the white ground — but the uncoated surface does absorb ink slightly differently than coated stock, which is what produces that calm matte quality rather than a glossy pop. The twisted-rope handle is white and pre-attached; it is not printable and its attachment zone sits in the top bleed area, so keep critical art at least 6 mm below the top edge regardless of your design.
What Trips Creators Up
Designing into the gusset. The 27.5 mm right-edge zone is the most-missed boundary in bag file prep. Popecho's editor overlays this fold line clearly, but creators working in external apps before uploading often place characters or event branding there and lose it entirely on the finished bag. Treat the right edge as a hard exclusion zone from the start.
Uploading CMYK files. CMYK mode causes a noticeable saturation and brightness jump on the finished print. The fix is simple — convert in your source file before export — but the error is common enough that it surfaces regularly. RGB only, always.
Not accounting for the bottom fold. The 6 mm bottom bleed is a fold zone, not just bleed. Background color should extend there, but placing any meaningful element within 6 mm of the bottom edge risks it being tucked under the bag base.
Skipping the proof on saturated palettes. Full-bleed character art with deep saturated backgrounds reads beautifully in offset on kraft — but if your palette relies on colors at the neon or near-white extremes, the bulk run is not the place to discover the shift. Proof first.