
Acrylic Standee Structure: The Thickness, Base, and Cut Path That Keep It Standing
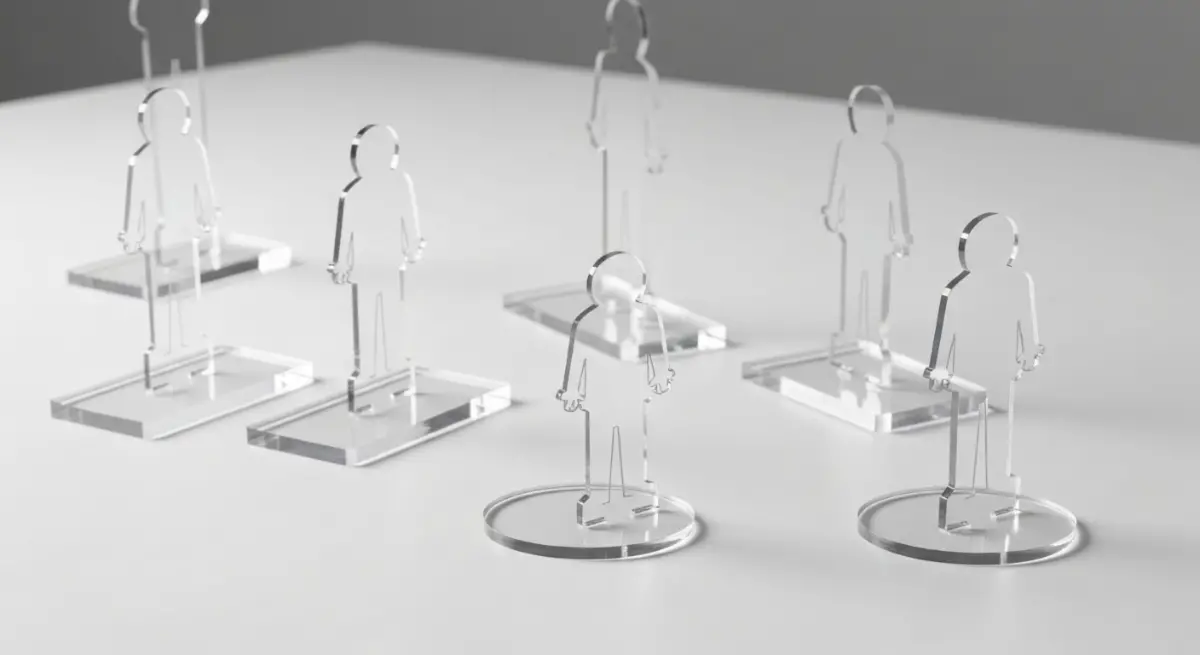
An acrylic standee is a flat, die-cut acrylic display piece that stands upright in a slotted base. Whether it stays standing, and survives handling, depends less on the artwork than on four structural choices: thickness, base geometry, cut path, and substrate. A standee that tips on a table or loses its base in transit usually traces back to one of those decisions, made weeks before the file was submitted, so it helps to treat them as design inputs rather than defaults.
Table of Contents
- Thickness affects stability, not just feel
- The base is the critical component
- Base width relative to standee height
- How the cut path affects structural integrity
- Print layer sequencing on acrylic
- File setup and color
- Who acrylic standees suit
- FAQs
Thickness affects stability, not just feel {#thickness}
Rigidity and stability are different properties. A thin acrylic sheet will not flex, but it has little resistance to lateral force, so a character with a wide upper body and a narrow base tips at the slightest touch. Thickness is where you control that.
- 3mm sheet is the standard for most custom acrylic standees. It handles small-to-medium formats well, roughly up to 15cm in height, and produces a clean, light product. Above that height, 3mm starts to flex under its own weight when the base slot is narrow.
- 5mm or thicker adds mass and rigidity. It resists tipping, survives shipping better, and holds the base slot more securely, with a noticeably heavier hand-feel.
If your character has a large head, wide shoulders, or significant visual mass above the midpoint of the design, thick acrylic is the structurally correct choice for that format, not just the premium one.
The base is the critical component {#base}
The base is the most structurally important part of a standee, and the part most often treated as an afterthought. Most acrylic standees use a separate rectangular base with a slot cut into the top edge; the standee body slides in. The failure modes are specific:
- Slot too wide: the body wobbles and eventually falls.
- Slot too narrow: the base cracks during assembly, especially in cold shipping conditions.
- Base too short: the standee tips forward under the weight of a tall or top-heavy design.
- Base material too thin: the slot deforms over time, particularly with repeated handling at conventions.
Base width relative to standee height {#base-width}
There is a reliable production rule here. Base width should be at least 40% of the standee's total height for a design with a balanced center of gravity. For top-heavy designs, characters with large heads, wings, or extended arms, that ratio needs to increase.
If your standee is 20cm tall, a 6cm base is marginal, while 8 to 9cm is more stable. The relationship is easy to miss on a flat mockup and obvious once the physical piece is on a table, so check it before you approve.
How the cut path affects structural integrity {#cut-path}
The cut path, the die-cut line that defines your standee's silhouette, directly affects whether the product can stand. Thin ankle connections, a floating element below the feet, or a narrow base in the artwork itself create a structurally weak point where the acrylic is thin, flexes, and may crack in shipping or after repeated handling.
Your artwork should include a bleed line, typically 1 to 2mm of extended color beyond the intended cut edge, which prevents white acrylic edges from showing if the cut runs slightly outside the design boundary. More importantly, the cut path should maintain a minimum material width at every point along the silhouette. For 3mm acrylic, keep at least 3 to 4mm of material at the narrowest point; thicker acrylic gives more tolerance. The fix for thin legs or intricate cutouts is to adjust the cut path so those areas retain enough acrylic, not to simplify the artwork. A production partner should flag this during file review.
Print layer sequencing on acrylic {#layers}
Acrylic standees print with UV-cured ink that bonds to the surface, so the print sits on top of the material rather than embedded in it. Layer sequencing matters: a white base layer prints first, then the color artwork on top. That white layer is what makes colors read as opaque and vibrant against a clear substrate; without it, colors look translucent and washed out.
A double-sided print, artwork on both faces, requires precise registration between front and back. Misalignment of even 0.5mm produces a visible shadow when the standee is viewed at an angle, so confirm your production partner uses calibrated registration for both passes before ordering double-sided.
File setup and color {#file-color}
Most digital artists work in RGB, and UV printing on acrylic ultimately runs on CMYK inks. Submit your file in RGB and let PopEcho convert with a calibrated profile built for UV printing on acrylic. Converting to CMYK yourself with default software settings can introduce color deviation, since a default CMYK profile is not calibrated for this process, so submitting RGB and letting the calibrated profile handle the conversion is the more reliable path. If exact color matters, soft-proofing your file before approval helps you preview how saturated blues and purples will render.
Resolution matters too. 300 DPI at final print size is the minimum; for standees above 20cm, 350 DPI is more reliable. Below 300 DPI, fine details such as hair strands, thin borders, and small text print with visible softness.
Who acrylic standees suit {#who-for}
- Artists and illustrators: character art with strong silhouettes and high-contrast linework reads well as a standee for Artist Alley tables and convention displays.
- Fan communities and IP holders: character standees for limited drops, collector sets, and themed bundles, where acrylic reads as more premium than paper alternatives.
- Small brands and indie studios: desk display pieces and branded character standees, with single-piece production keeping test runs viable without unsold stock.
- Event organizers: standees for photo opportunities, directional signage, or booth displays, where thick acrylic holds up under repeated handling.
- Educators and content creators: durable, repositionable display props for video, photography, or classroom use.
FAQs {#faqs}
What thickness should I choose for a custom acrylic standee?
For standees up to 15cm tall with a balanced design, 3mm is structurally sufficient. For taller or top-heavy designs, or pieces meant for repeated handling, 5mm or thicker is the correct choice.
Why does my acrylic standee tip over even though it has a base?
The base is likely too narrow relative to the standee's height and center of gravity. A base width of at least 40% of total height is a reliable starting point; top-heavy designs need a wider base.
Should I submit my print file in RGB or CMYK for acrylic standees?
Submit RGB. UV printing uses CMYK inks, but a calibrated process handles the conversion with a production-specific profile. Converting to CMYK yourself with default settings can introduce color deviation that cannot be corrected at print.
What is a bleed line and why does it matter?
A bleed line is 1 to 2mm of extended color beyond the intended cut edge. It prevents white acrylic edges from showing if the die-cut runs slightly outside the artwork boundary, and it is a standard requirement for any die-cut acrylic product.
Can I order a single custom acrylic standee?
Yes. Production from a single piece is possible, which lets you test a design without committing to bulk inventory.
What minimum material width should I keep in my cut path?
For 3mm acrylic, keep at least 3 to 4mm of material at any narrow point such as ankles, thin waists, or gaps between elements. Below that width, the acrylic can crack during shipping or handling.
Setting up your first standee run? See the acrylic standee options and order from a single piece at popecho.art.