Glitter Acrylic Card: Mapping Your White Ink Layer
Glitter Acrylic Card: Mapping Your White Ink Layer
Why the white ink coverage map — not the glitter base — is the decision that shapes every print.
TL;DR
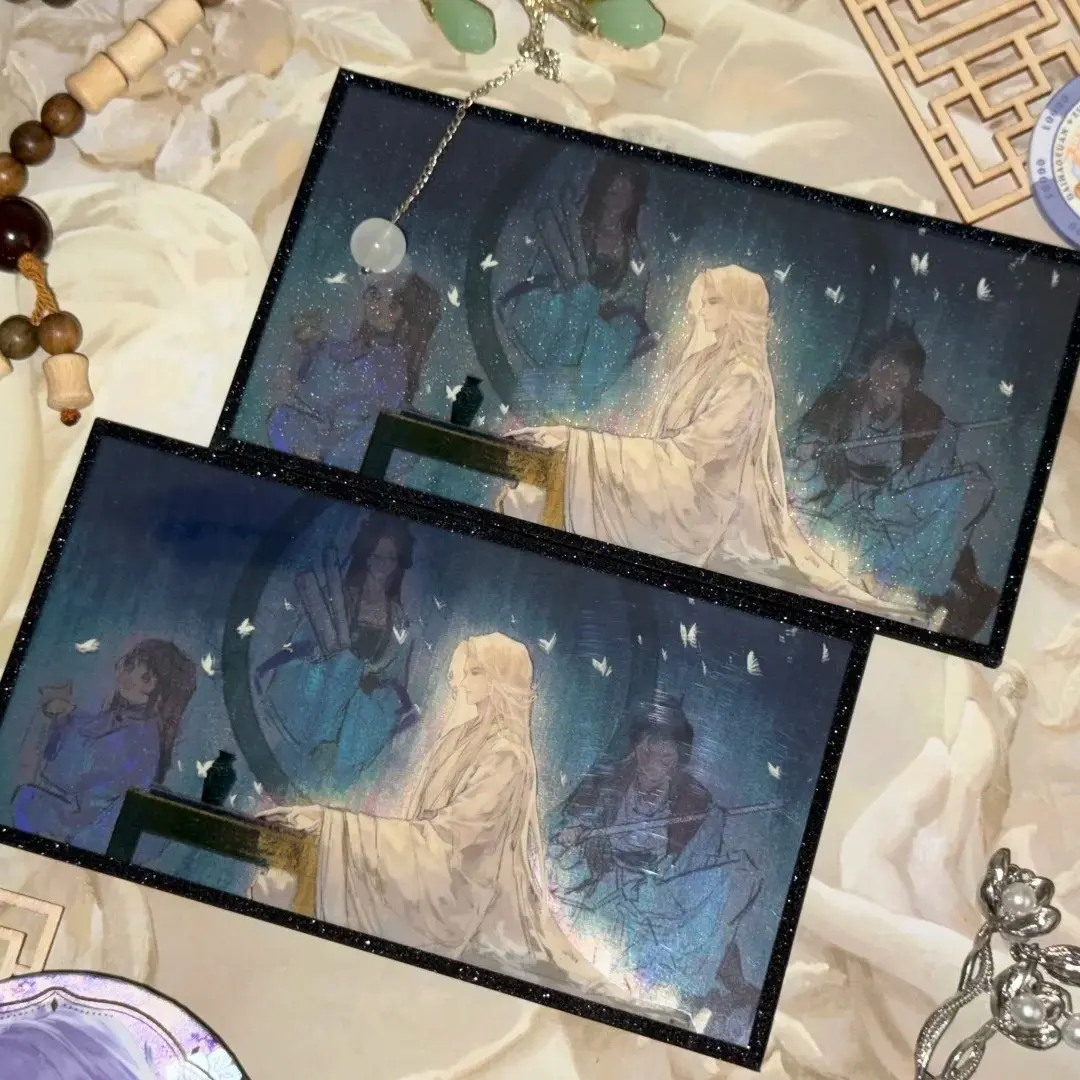
Popecho's Glitter Acrylic Card is a UV-printed acrylic sheet card available in five sizes (6×6 cm to 14×21 cm), built over a glitter or laser film base with a foil-wrapped edge and an optional foil stamp. The single most consequential decision in the file is the white ink coverage map: transparent zones let the glitter substrate show through directly, while fully covered zones carry opaque color. Plan that map before choosing your base, open the product in Popecho's onsite editor to lock in the safe zone and bleed boundary, then order a single-unit sample before scaling.
What This Subtype Actually Demands
A glitter acrylic card is not a standard printed card with a decorative background — it is a three-layer system where the glitter base, the white ink coverage map, and the UV color print must be planned as a single composition. The substrate is active: seven distinct glitter and laser film options ranging from white glitter to holographic brushed to flame laser each scatter and reflect light differently, and your color art reads against that scatter rather than against a passive white ground.
The card format itself — flat, hardware-free, border-wrapped edge — positions this product as a direct peer to a premium photocard or collectible trading card. That means sleeve compatibility, packaging decisions, and perceived collectible weight are worth thinking through alongside file preparation. The border wrap (包边) in one of seven metallic or flowing-sand finishes physically finishes the cut edge, and an optional laser gold or laser silver foil stamp adds a third metallic surface layer on top.
Setting Up the Artwork
Canvas size is determined by the finished cut plus 2 mm bleed on all sides: the 6×6 cm variant needs a 70×70 mm canvas; the 10×15 cm variant needs 104×154 mm; the 14×21 cm variant needs 144×214 mm. Minimum resolution is 300 DPI, and the file must be submitted in RGB — Popecho's onsite editor will direct any profile conversion needed for UV production.
Open your chosen variant in Popecho's editor and the bleed boundary, safe-zone overlay, and usable print area (accounting for the border wrap) load automatically. Keep all critical art and text at least 3 mm inside the finished cut edge; the border wrap consumes the outermost 1–2 mm of the printed area, so linework placed too close to the edge will be covered.
The white ink layer is the structural decision. In Popecho's editor, the white ink channel appears as a separate, editable layer — do not merge it with your color art. Zones set to full white underprint will carry opaque color. Zones set to zero white-ink coverage will print color directly over the glitter substrate, letting the sparkle read through. A single global white flood blocks every glitter effect; a zero-coverage file will render desaturated color on heavy-glitter bases. Map each region deliberately before finalizing. Submit as PNG or PSD, with the white ink channel kept on its own layer in PSD files.
Surface and Production Decisions
The glitter base you choose at order time sets the visual character of the entire card and cannot be mixed per unit within a single run. Highly reflective substrates — laser cloud, flame laser, holographic brushed — amplify light scatter significantly. Dark or low-contrast artwork placed over these bases without a sufficient white underprint zone will appear washed out or muddy under ambient light. Test your white ink percentage against the specific base before committing to a full run.
When foil stamping (烫色) is selected, Popecho applies a laser gold or laser silver foil layer over the border wrap zone. Fine linework below approximately 0.5 mm may not hold cleanly in foil, so keep foil-zone details chunky and avoid hairlines. Importantly, the gilding layer and the white ink layer are both present as editable surfaces in Popecho's editor for variants that include foil stamping — use the editor to position foil accent areas before finalizing your submission, and confirm the 烫色 selection field before placing the order, since leaving it at 无烫色 omits the foil layer entirely.
Popecho produces this product in 12 days. MOQ is 1 piece, which makes a single-unit sample a practical first step before committing to a larger print run.
What Trips Creators Up
Flooding the white ink channel globally. A full white underprint feels like a safe default, but it eliminates every glitter effect across the entire card — the substrate becomes invisible. Map each zone intentionally: opaque where you need color fidelity, transparent where you want the base to show.
Ignoring the base when choosing art contrast. Dark backgrounds and fine gradients that read clearly in a screen mockup can lose legibility over a holographic brushed or flame laser substrate without enough white underprint. Prototype the white ink percentage against your chosen 闪底 before ordering at volume.
Placing linework near the cut edge. The border wrap physically covers the outermost 1–2 mm of the printed area. Art or text placed within 2 mm of the cut will disappear behind the wrap. Popecho's editor shows exactly where that boundary falls — keep the safe zone respected.
Leaving the foil stamp field unconfirmed. The 烫色 field defaults to 无烫色. If you designed for laser gold or laser silver foil and did not change the selection, the foil layer is simply not applied. Double-check the field before submitting.