
Foil Stamped Card File Setup: Gilding Layer and Corner Safety
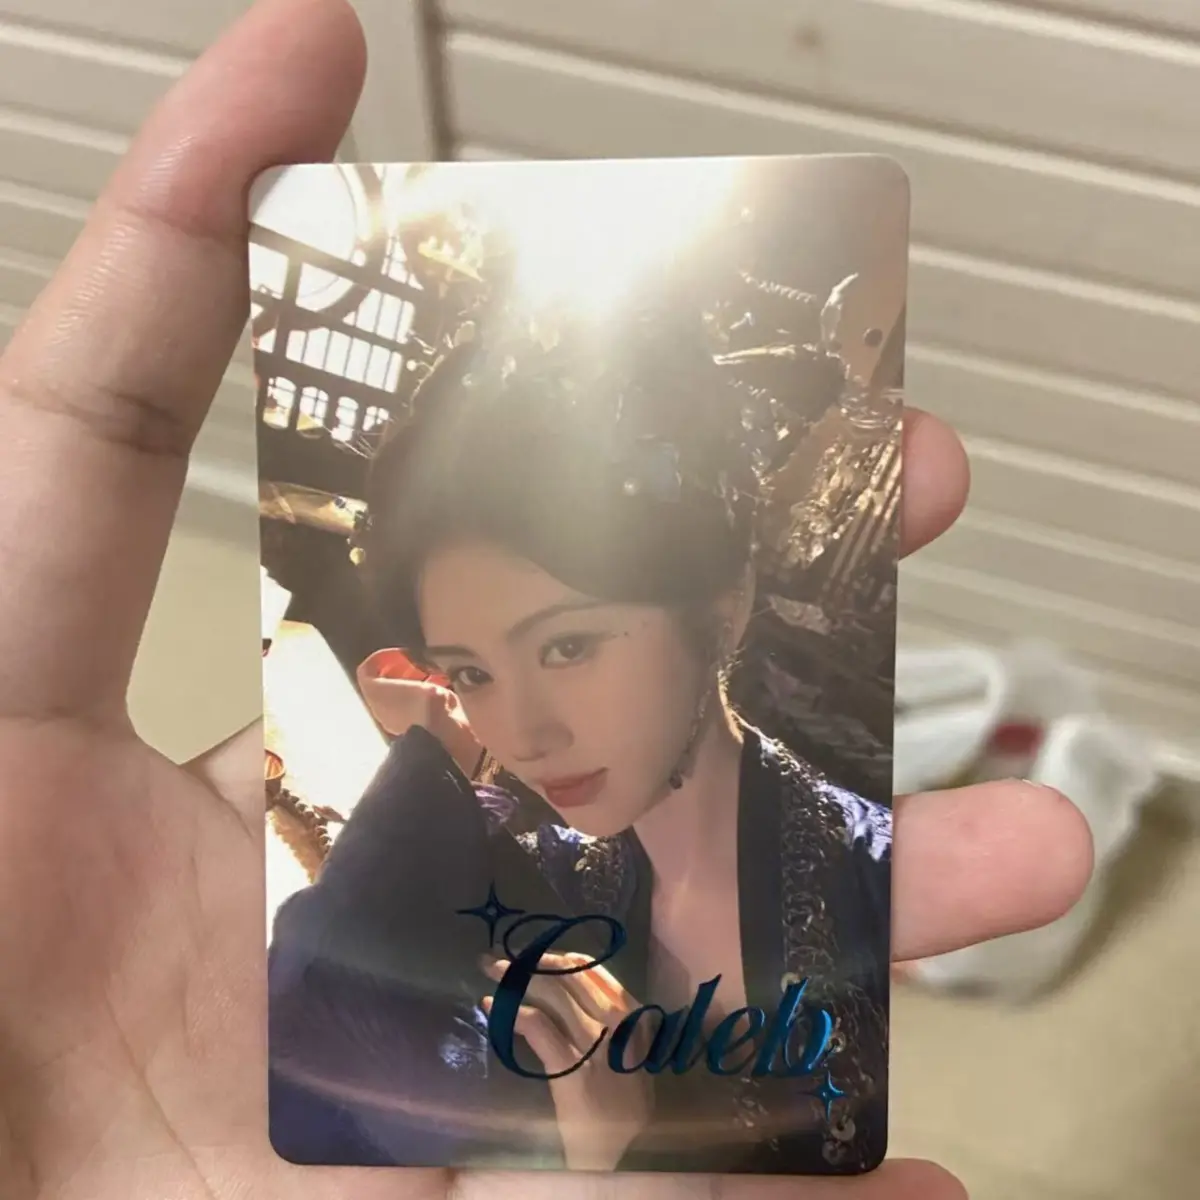
Foil Stamped Card File Setup: Gilding Layer and Corner Safety
How to place your foil mask, protect corner art, and split front/back roles before production.
TL;DR
Foil stamped cards on 400gsm coated paper run in two sizes — 54×86mm for photocards and 62×87mm for game cards — with hot-foil stamping in six colours including laser holographic gold and silver. The decision that shapes the final result most is how you separate your foil mask from your base print layer. Supply the foil region as a distinct layer, keep artwork clear of the rounded-corner arc, and open the product in Popecho's onsite editor to check both the front gilding canvas and the back surface before submitting.
What This Subtype Actually Demands
Hot-foil stamped cards live at the crossroads of two collector communities: K-pop photocard culture (54×86mm) and TCG or indie game card production (62×87mm). The physical demand that unites both is precision layering — the foil stamp is a separate physical process from the base CMYK print, which means your artwork file has to carry two distinct jobs in one document. The base print lays down the photographic or illustrated content; the foil mask tells Popecho's production line exactly which regions get the metallic or holographic layer pressed on top. Get the separation wrong and the foil either lands in the wrong place or delays production entirely. The rounded corners add a second constraint: the arc of the corner die clips anything too close to the edge, and it clips it on all four corners simultaneously.
Setting Up the Artwork
Build your canvas at 56×88mm for the photocard size or 64×89mm for the game card — that is the finished dimension plus 1mm bleed on every side. Work in CMYK at 300 DPI throughout.
Popecho's onsite editor loads separate canvases for each size variant. When you open the foil stamped card in the editor, the front surface loads with the gilding layer already available as a distinct placement zone — use that to position your foil-stamp region without building the separation from scratch. The back surface loads as a clean print-only canvas, which is where you place secondary information, card backs, or plain design elements that need no foil. That front/back split inside the editor is the fastest way to verify that your foil mask and your base print art are genuinely on separate layers before you submit.
For the foil mask itself: supply foil areas as a high-contrast black-and-white spot-colour layer or a clearly labelled overlay. The production line reads this mask to isolate the stamp region. Any hairline thinner than roughly 0.3mm risks not stamping cleanly, so keep foil details bold. Pull all critical elements — faces, key text, card names — at least 2mm inside the finished cut line, and add extra clearance at all four corners to stay outside the rounded-corner arc.
Surface and Production Decisions
The 400gsm coated stock gives you a stiff, glossy-face base that holds foil adhesion well and resists the curling that lighter stocks can develop under large solid-foil blocks. The glossy surface is a feature for collectors but also means fingerprints show; if you are designing for frequent handling, factor that into how much bare gloss you leave exposed versus foil-covered.
Six foil colours are available: laser gold, laser silver, blue, pink, red, and purple. Laser gold and laser silver are holographic — they produce a rainbow-prismatic shift that changes dramatically depending on viewing angle and lighting. That shift is what makes laser foil cards photograph so well, but it also means the card looks different in your hand than it does in a flat photo. Photograph any sample under multiple light conditions before approving a full run.
Gilding placement guidance matters here: foil sits on top of the printed ink surface, so regions intended for foil should have minimal underlying CMYK density. A light or near-white base beneath the foil mask gives you maximum foil brilliance; dense ink underneath can reduce adhesion and dull the reflective effect. Keep your foil regions clean and your base-layer ink light in those zones.
Popecho produces these cards in 12 days, and the MOQ is 20 pcs.
What Trips Creators Up
Flat merged file, no foil mask. The most common delay cause. A single merged PNG with no separate foil layer tells the production line nothing about where the stamp should land. Always keep the foil mask on its own layer or in a clearly labelled separate file.
Artwork too close to the corner arc. Rounded corners clip a consistent radius on all four corners. Creators who treat the finished cut line as their safe boundary lose corner detail. Pull important elements at least 2–3mm inward and visually check the arc in Popecho's editor before submitting.
Laser foil colour shift not communicated to buyers. Laser gold and silver look different at every angle. If you are selling these cards, show buyers a video or multi-angle photography — a single flat scan undersells the effect and a single glare shot can create unrealistic expectations.
Ordering one design per batch without sampling first. At 20 pcs MOQ you can run a small sample of a single design before committing to a larger run. Use that option when you are trying a new foil colour or a new foil mask layout for the first time.